My first Solo Art Exhibit

Featured

Hey guys!!

I know I have been off the radar for a long time but I have a valid reason for that! The last few months have been extremely busy and exhilarating ones for me and I am super excited to share with you all that I recently had the pleasure of holding my very first solo art exhibition!

It was an incredibly challenging yet invigorating experience for me and nothing I have ever done before can match the thrill of seeing a gallery full of my work. Seeing my pieces on display in a radiant, well-lit space gave me a feeling of elation like none other. I never imagined it would feel so out of the world!

My artworks were on display at Dys Art Gallery, Siripuram Junction in Visakhapatnam from 15 April to 21 April 2022. The exhibit titled “Dragons and Beyond” was launched on the 15th of April 2022 and showcased a collection of 26 original works in all, which have been inspired by various muses, including my all-time favorite, the dragon.

Many of the artworks on display are works from earlier years while others are more recent as I wanted to put up a good mix from the past as well as the present. Most of my works belong to the genre of conceptual art and constitute my way of expressing not just what I feel and believe in, but also sharing the joy and pleasure I get from painting.

As mentioned earlier, the exhibit featured 26 original works for display as well as sale, ranging from small-scale paintings to medium sized ones. I had showcased three different series, namely the Dragon Series, the Navrasas series and the Lockdown Saga series.

Each piece in the collection has its own story to tell and a message to convey. It is my sincere endeavor and attempt not only to emote through my work, but also to send out a social message through my art. I hope my viewers can feel through my paintings what I feel and comprehend the deeper meaning behind each and every piece every time they look at one.

I also had the honor and privilege of being featured in the newspaper, The Hindu, along with my work. Sharing an image of the article and a few snapshots of the collection as well as the show.

The last few months leading up to this solo show have been a roller coaster ride, one full of mixed emotions and ups and downs, but in all, it has been a fabulous learning experience in terms of fine-tuning my creative process and growing as an artist.  This was a life-time opportunity for me, a golden one at that and has been a long time coming. In fact, it’s been a life-long dream, and to see my dream becoming a reality is absolutely thrilling! I am grateful to the gallerists, Ms. Gladys Rathi and Mr. Krishna Rathi for providing me with this opportunity and special thanks to my dear husband for discovering this place..couldn’t have done it without you!

Thanks for stopping by and see you next time!

Dragon – Liberation

Hey folks! Time to introduce you all to the next artwork in my Dragon Series.

I call it “Dragon – Liberation”.

This one is an attempt to portray the transformation of the dragon into a calm and tranquil creature, which has chosen to let go of its brutal ways after witnessing its own destructive powers.
Having spewed out its toxic innards, it yearns for liberation, longing to be released from its self-inflicted savagery.
Feeling weighed down by the guilt of its murderous acts, it is craving to shed the load and redeem itself.
In an endeavor to escape the barbarity that is smothering it inside out, it spreads its mighty yet guilt-ridden wings and soars high into the vast expanse of space.
As it ascends to greater heights, it gradually sheds all desire for bloodshed and violence, thus feeling lighter and cleansed.
The mind is in a similar state of self-realization, thirsting for atonement.
Once the storm inside has settled and regret has taken over, the clouds of arrogance and vanity clear and all negative thoughts are set free.
In other words, letting go of one’s vices is like spreading the wings of liberation and taking off into the colossal realm of salvation.

The Technique – This one is yet another acrylic pour exploration, but with a slight twist. It is a pour against negative space.
Instead of the conventional dirty pour or flip cup, I have simply poured three different colors, namely, yellow, orange and red onto the canvas in the shape I desired to achieve, in this case a wing.
Prior to doing this, I poured black paint onto the canvas and tilted it to ensure that it is entirely coated in black, including the sides and edges, thus creating the negative space.
Thereafter, I poured the remaining three colors roughly in the form of a wing, using these cute little nozzle tip squeeze bottles (Sharing an image below).

Ain’t they cute?!

The advantage of using these is that you can control the flow as well as amount of the pouring mixture in order to obtain the desired effect.
The rest is the same…tilt until you get what you want!

And yes! I forgot to mention that I added silicone to the each pouring mixture except the black to get these amazingly cool looking cells that made my dragon wing look even more realistic!
It worked out pretty well for me as I got the result I was hoping for!!

Dragon – Wrath

When the dragon breathes fire, all hell breaks loose. The devastating flames expelled from its gullet via its mouth annihilate whatever crosses their path. It is believed that this ruinous blaze can cut through rock like a hot knife cuts through a stick of butter. As the dragon grows, both in age and size, so does its fire power, almost as if the flames churning inside its belly are gradually building up into a blistering inferno.

This searing conflagration is the subject of my next painting, Dragon – Wrath. When the molten broth depicted in my previous artwork has built up to a point where it cannot be contained anymore within its glowing furnace, it rises up the gullet and en route to the mouth, the noxious fumes of a highly inflammable aerosol are released through two orifices. The minute a spark from the fiery cauldron hits this froth, it lights up to create a plume of fire and Kaboom!! It wreaks havoc mercilessly on its helpless victims. The torrential outburst of a livid human mind resembles this smoldering eruption. As the flames of fury build up inside the head, all reasoning and intellect are engulfed by them, and the obnoxious poison that is released, sets free the most dreadful of all emotions…anger. This exasperated and irrational mental state is a ticking time bomb like Drogon, triggered off to explode by the Dragon Queen’s command….DRACARYS!!(Love dragons! Gotta love GOT!!)
The technique I have employed here is the simple Flip Cup, which I have described in detail in one of my earlier posts. In short, it is just a layering of colors mixed with pouring medium and silicone in a single cup, which is flipped quickly in a swift motion onto the canvas and allowed to flow and spread with the help of a little tilting. The addition of silicone is optional, depending on whether you wish to create cells or not. In this case, I chose not to add silicone as I felt cells would give it a more organic look, which I did not want. I have used shades of yellow, red and black to depict the simmering heat, not just of the dragon’s breathe, but also of the violent temper inside a mind mad with rage. While the yellow and red symbolize the fatal nature of the dragon, hence a destructive mentality, the black gives a glimpse of the catastrophic end…when all that is left is smoke, soot and vapor.

Dragon – The Fire Within

So, the next installment of my Dragon Series is an Acrylic Pour, my very first for that matter. Before I get into the technicalities of the procedure itself, let me run you through the essence of the artwork.

This one is a sequel to “Camouflage” and gets “inside the skin” of the beast, literally and of the human mind, figuratively. Under the impenetrable crust of the scales, a fire blazes within the belly of this colossal creature, simmering in a broth of molten flames. This molten blaze is a metaphor for the turbulent storm raging within the mind of an infuriated human. The tempest continues to brew inside the fiery precipice, churning and seething, threatening to spew forth its impending doom.

I have attempted to depict this smoldering inferno through the Pour and Swipe method of acrylic pouring. The color palette I have used comprises of warm tones of fire, namely yellow, orange and red, with black acting as a contrast. I mixed each color in a 1:1 ration with Liquitex pouring medium and diluted it further with water to get a flowing consistency. Except for the black, I added 2 to 3 drops of silicone to the rest of the colors. The secret to getting cells to form in your pour mainly lies in the stirring. If you want big cells, then a couple of gentle stirs is enough, but, if you want numerous small cells, then give your concoction a nice vigorous mix. Let the mixtures stand for a few minutes for the reaction to take place and air bubbles to pop.

Thereafter, I poured the yellow, orange and red vertically across the canvas and tilted it gently to ensure the entire surface, including the sides were covered with paint. The next step was to pour the black paint horizontally on one end of the canvas. Then, with the help of a swiping tool (you can use almost anything, from an old credit card, a piece of card board to even a price tag card!), I dragged this black paint across vertically from one end of the canvas to the other, so that it went over all the other colors. What happened thereafter was pure magic! Beautiful cells started to form, as the colors overlapped and the silicone reacted with them. One thing I had to look out for was the formation of air bubbles. This problem can be solved with the help of a flame gun. Not only does it pop the bubbles, but also accelerates the formation of cells.

The end result quite resembled red hot molten lava, spewing and bubbling, overflowing with rage and fury, on the verge of breaking out of its slumber. I decided to be a little more adventurous and tipped the canvas a bit more, resulting in the cells also flowing around to form random, convulsing shapes, giving the effect of boiling hot magma. Phew! Boy was I lucky!! This is exactly what I wanted! Acrylic pour really works wonders in the most unexpected ways.    

Confessions of an Acrylic Pour Addict

I love creating art systematically and methodically…I can proudly claim that when it comes to creating an artwork, my patience knows no bounds and I can go to great lengths to incorporate the tinniest detail in my work. I love playing around with my art supplies and always endeavor to produce something new and distinctive. This means frequent trips to art stores which I absolutely love!! Let me loose in one and I am like a little child who has just found his favorite toy!
But hold on! Being methodical doesn’t mean I can’t be messy!! I love experimenting with new techniques and mediums as much as I love bearing my quintessential oil paints onto a blank canvas. It was on one such exploratory journeys that I stumbled upon the fascinating world of ACRYLIC POURING. It felt as if I had walked into a whole new domain of artistry, like a Pandora’s Box with tons of possibilities, through which I could create divine magic on the canvas!! Even though it meant a lot of experimentation, trial and error, muddled up canvases and wasted art material, it was all worth it as it gave me a deeper insight into art and boosted my confidence tremendously as an artist. And hey! As I said before, when creating art, my patience is limitless!
When it comes to acrylic pouring, I have secrets aplenty to share with those who wish to explore this beautiful technique. So I hope these fun and interesting facts inspire you all to create your own magic with acrylic pours.
What is Acrylic Pouring?
Also called paint pouring, fluid art, flow art, liquid art, etc., it is a form of abstract art that uses acrylic paints with a runny (fluid) consistency. This technique can achieve stunning marbleized effects that are totally abstract in nature. They also add glaze to your artwork and smooth out unwanted textures, if any. In order to make acrylic paints runny, a “pouring medium” is added to them. This not only makes the paints flow more smoothly, but also improves their consistency and overall integrity, so that they dry and finish without cracking, separating or fading. Some examples of pouring mediums are Liquitex pouring medium, Floetrol, PVA Glue and GAC800. Apart from Liquitex, I am yet to try the rest.
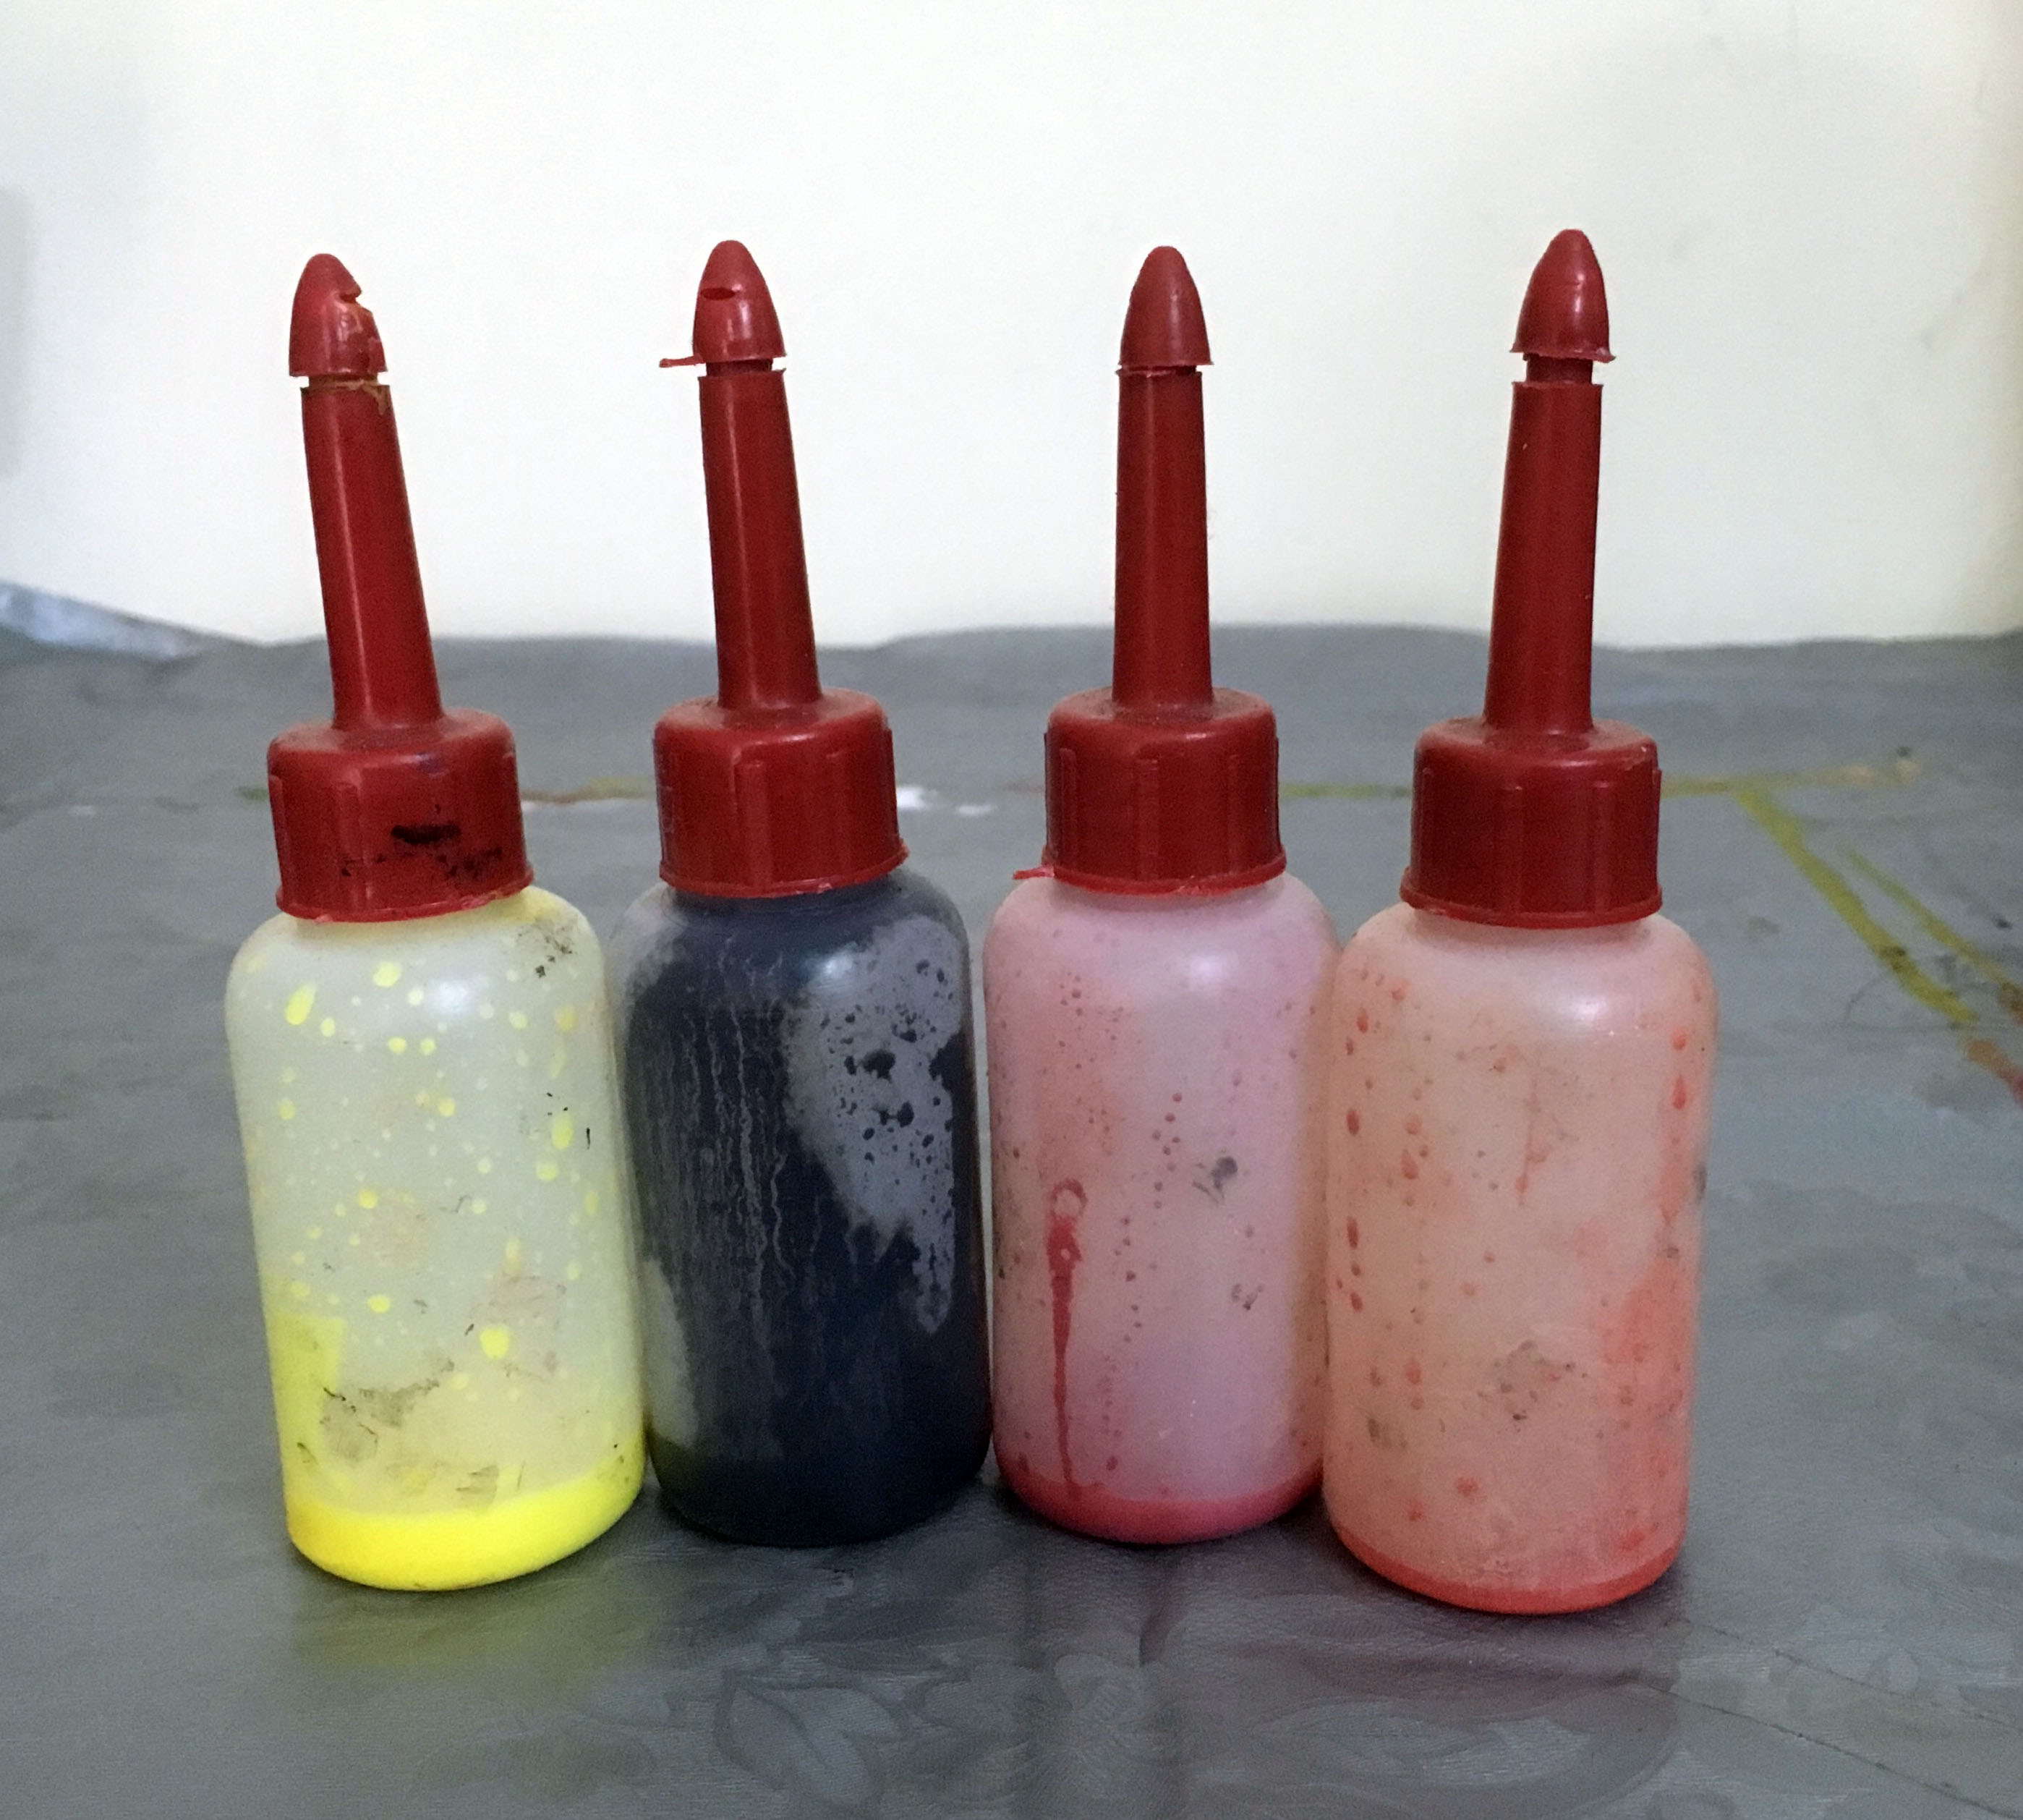
Besides the marbleized effect, another aspect to acrylic pouring is the creation of “cells”. The best additive to use for this effect is Silicone oil. It works very well with almost all pouring mediums and makes cells with most paints. Some other alternatives for silicone oil are Dimethicone, Treadmill Belt lubricant and Coconut oil. I find silicone oil the most suitable as it creates perfect cells.
So, I hope I have covered the basics of acrylic pouring. Now for some fun facts!
You can make your pour look like an oil painting!
Want your acrylic pour to have the glossy shine that oil paintings have? You can achieve this by using a Coated Pour! This is the classic acrylic pour, where acrylic paint is combined with pouring medium and depending upon the amount of pouring medium used, the flow will be viscous or thin, thereby affecting the overall look of the painting. The paint creates a fluid shape that sits on top of the painting surface. Another version of this method is the Pour and Swipe, where the pouring concoction is poured onto the canvas and then swiped with a swiping tool in a particular direction.
• Watercolor effects!
Like the effect of watercolor paintings, but your heart still lies in acrylic pouring? Well, the good news is, you can achieve both with the Wash Pouring technique! Instead of using the pouring medium, dilute your paint with water in a 1:1 ratio before you perform the pour. The effect will vary depending on what surface you are painting. If it’s glossy, the wash pour will break up into funky shapes and if it’s matte, the paint will soak into the surface, just like watercolors.
• Get dirty!
Ever heard of a Dirty pour? Well, contrary to the name, it’s just a pour that is performed when the colors are mixed together. Just pick the colors you want to use and mix then into your pouring container. As you pour, the paints mix further, thereby creating interesting patterns and designs. You can create more eye-catching patterns by tilting the canvas around.
• Bottoms up!
Nope! It has nothing to do with drinking!! I am talking about another cool technique of acrylic pouring, the Flip cup. It involves putting different colored paints into separate cups along with water or pouring medium, then layering them one on top of the other in one cup and finally flipping it upside down onto your canvas in one swift stroke. Careful not to spill! Thereafter, slowly lift the cup and watch the paint do its magic as you tilt the canvas. So bottoms up!!
• Straight pour
This may sound boring after all the exciting techniques listed above, but trust me, it isn’t, as it produces equally cool effects! Starting with the darkest color and working to the lightest, pour the paints into the centre of the canvas. The colors spread outwards to the edge of the canvas with each layer, creating small or big circles, depending on the amount of paint poured. The end result is totally psychedelic and funky!!

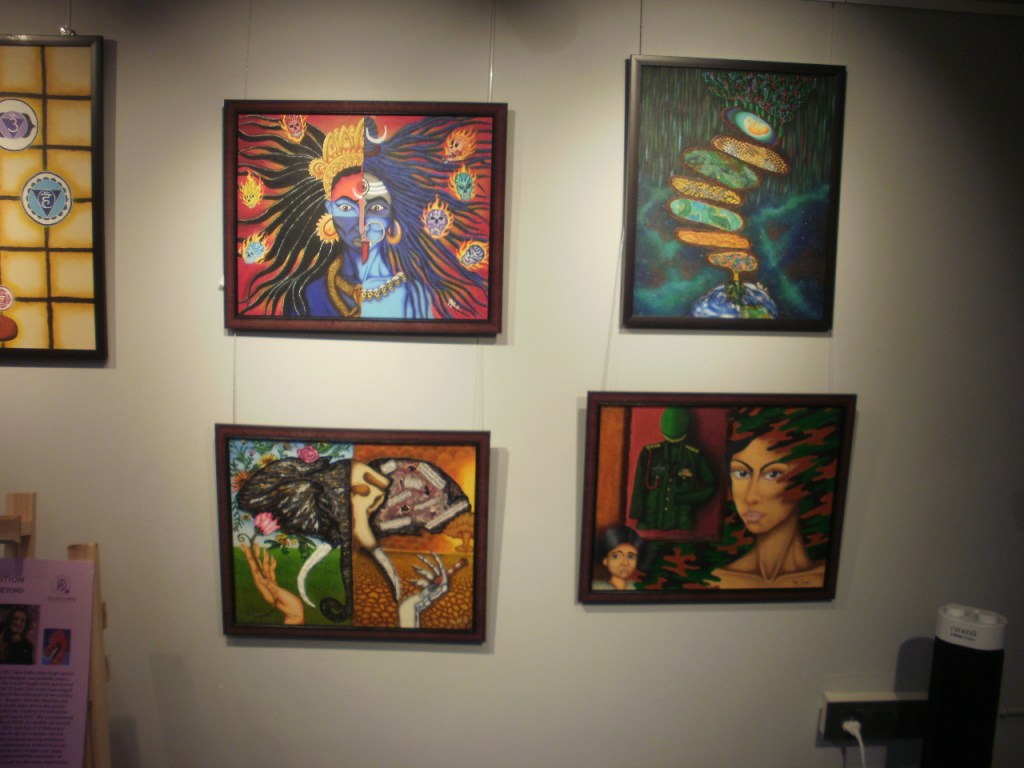
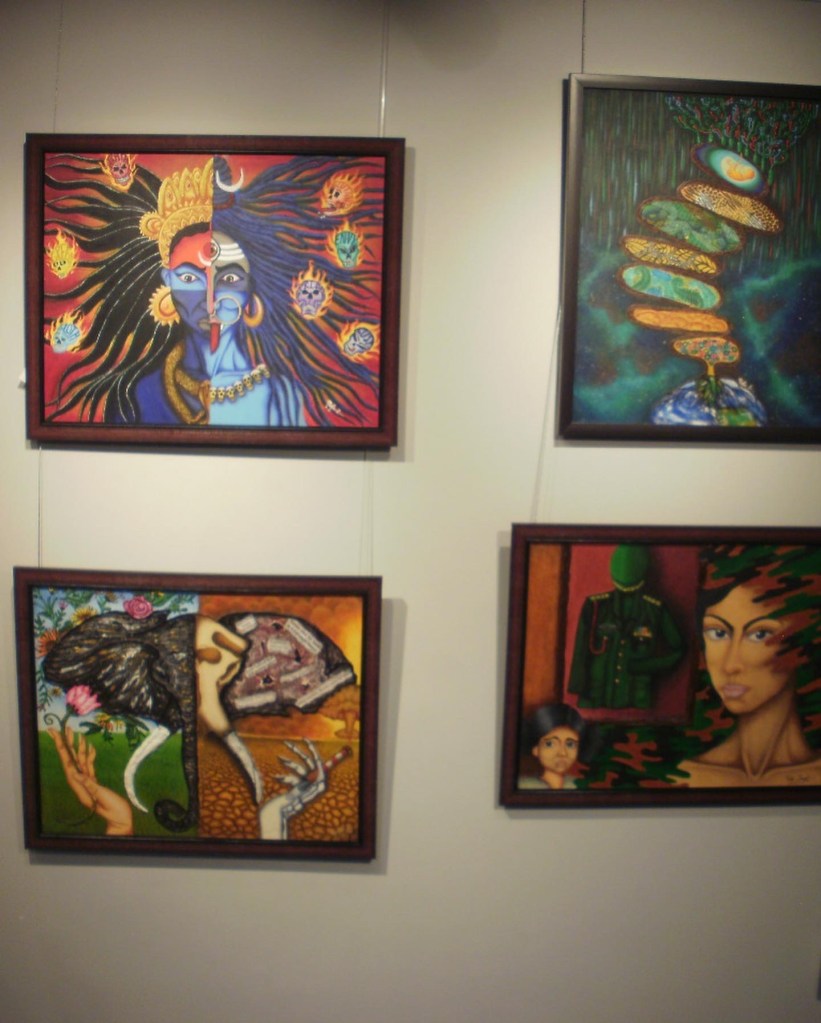
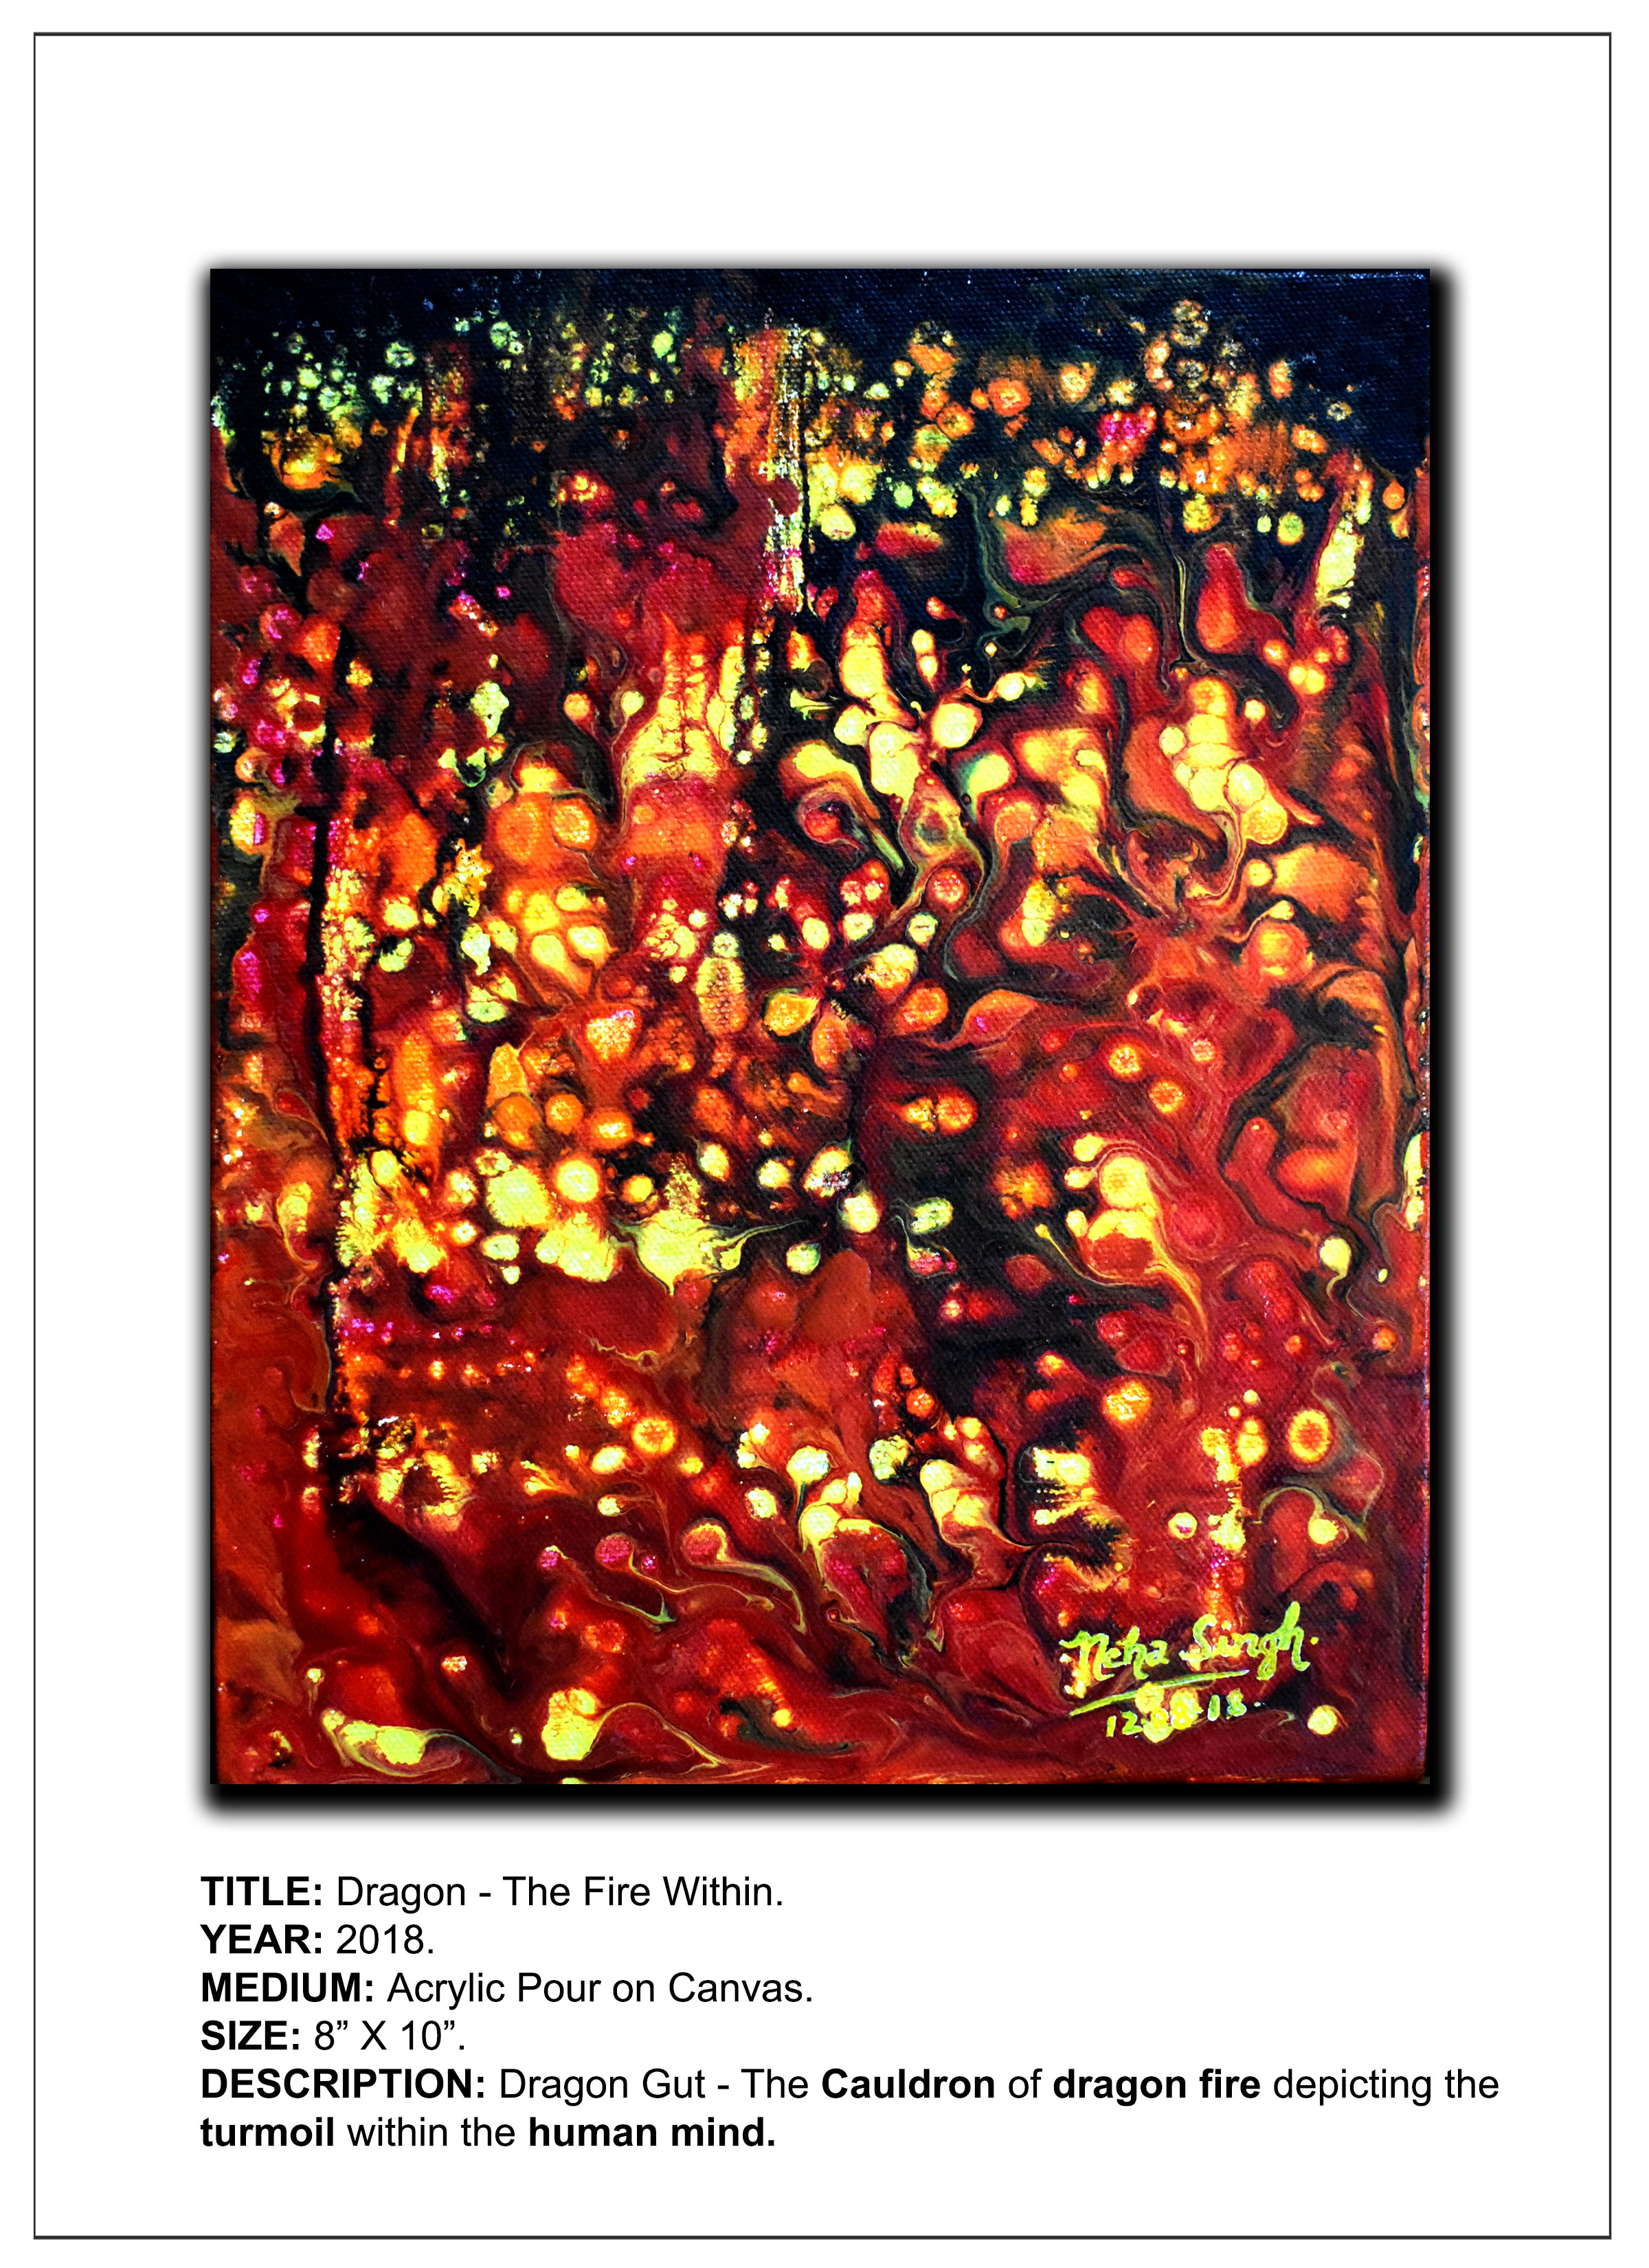
Sounds fun doesn’t it? So delve into this fascinating realm of acrylic painting and take your compositions to a new level! The possibilities with acrylic pouring are endless and each time the same technique will result in a totally different look. Sharing with you all, images of some of my acrylic pour compositions, which are also part of my ongoing Dragon Series. Each one of them is an unforeseeable aspect of the dragon’s personality, hence the human mind. I have experimented with different acrylic pour techniques in each artwork, at the same time, added a personal twist to them. I shall take them up individually when I get to them…. So watch this space for more!