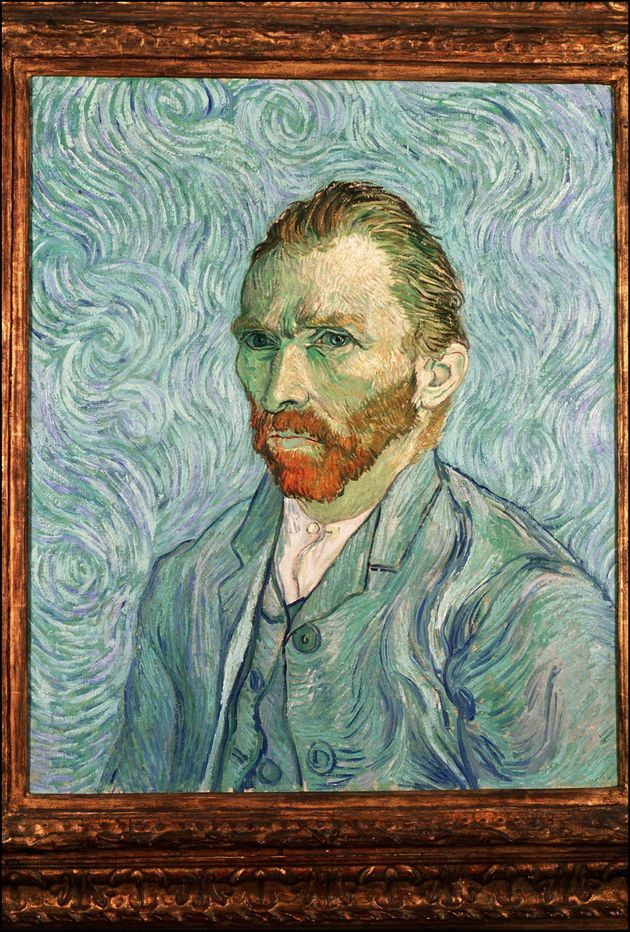
Artist Block

Do you find yourself staring at the blank white canvas perched on your easel, foxed at your inability to make a mark on it? Have you been mulling over your first brush stroke not just for a day, but for weeks, months or even years? Well then, Houston, we have a situation here! Time to sound a Code Red, for what you are experiencing is the Armageddon of the art world – the dreaded artist block. It is the apocalypse that’ll devastate and annihilate your artistic progress.

But relax! No need to panic, for it can be averted. As artists, we all have had those phases in our lives when we feel utterly confused, perplexed and frustratingly stuck. This is the time when innovative ideas seem to run dry and art inspiration is sorely lacking. It’s a common dilemma that can afflict all artists at some time or the other during their artistic journeys.  

What exactly is an artist block?  

Also known as a creative block, it is a period when artists cannot access their creativity and/or they cannot bring themselves to create a new piece of work. They feel like they have run out of things to draw. Simply put, it is a time when artistic drive is missing.

What causes an artist block?

The most common cause is a lack of inspiration or ideas. But inspiration is not the only problem, it’s also inactivity. If you are not practicing your art regularly, you will eventually run out of inspiration. So the key is to keep working and keep the momentum going. On the other hand artist block can also happen if you are mentally or physically exhausted. So do take care of yourself and take a break when you feel like you are burning out. Sometimes just looking at the world around you and enjoying it sights and sounds can help you grow as an artist!

How do you get rid of artist block?

Whether you’re uninspired, worried your work isn’t good enough or just can’t think of anything to sketch, the creative block is for real. But you must not let it get to you. Life gives us enough inspiration to be creative at all times. It’s up to us to find it and put it to good use. There are numerous ways to come out of this dry spell of creativity. Here’s how:

1. Create something on the canvas even if it’s just a simple sketch or a splash of colors. It is these marks and textures that will inspire you.

2. Travel or just go out for a stroll to the park or beach and look at everything afresh. The little subtleties of nature will appear to you in a totally new light.

3. Visit an art museum, gallery or online art websites that showcases art genre of your interest to draw inspiration from the old masters.

4. Enter an art competition to give you a goal to work towards and spark your creativity. Moreover, if you are selected and get to attend the art show, the works of other contestants will serve as a source of inspiration.

5. Read inspirational art quotes by the great masters of painting. It will not only inspire you but also motivate you once you get to know how they succeeding in combating their own lull periods.

6. Read art books if you are stuck with common issues like how to start a painting, what medium to use or how to fine tune your style.

7. Take a break if you feel you are experiencing artist burnout. It’ll give you time to contemplate on your status as well as progress as an artist. If you are just stuck on a particular painting, start a new one and toggle between them to keep the creative juices flowing.

8. Use creative exercises like drawing or painting your favorite subject for a month, making ten spontaneous paintings within a time limit, or recreating a series of an old painting in new ways each time.

9. Attend an art workshop where you can explore new techniques or media. You can also ask a friend or mentor to give you a creative challenge to work on.

10. Find a muse that inspires you andtake photos of this muse. Then go through the images and sketch or paint specific aspects of the subject in detail.

11. Clean up and revamp your studio or work space. A cluttered work area hampers creativity and kills inspiration.  

12. Take a timeout from email and technology and just focus on your creative practice.

13. Visit a library or bookstore and explore a topic or subject you’ve been wanting to paint.

14. Take care of your physical, emotional and spiritual needs with a good workout, a solid meal, good sleep and some meditation.

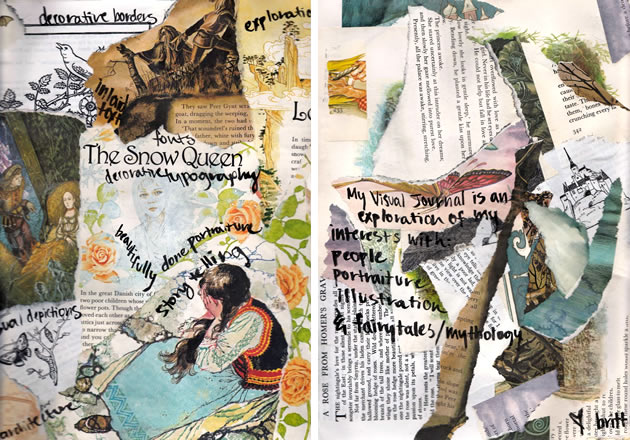
15. Maintain a journal, scrapbook or notebook of your doodling and random musings that you can refer to later for inspiration.
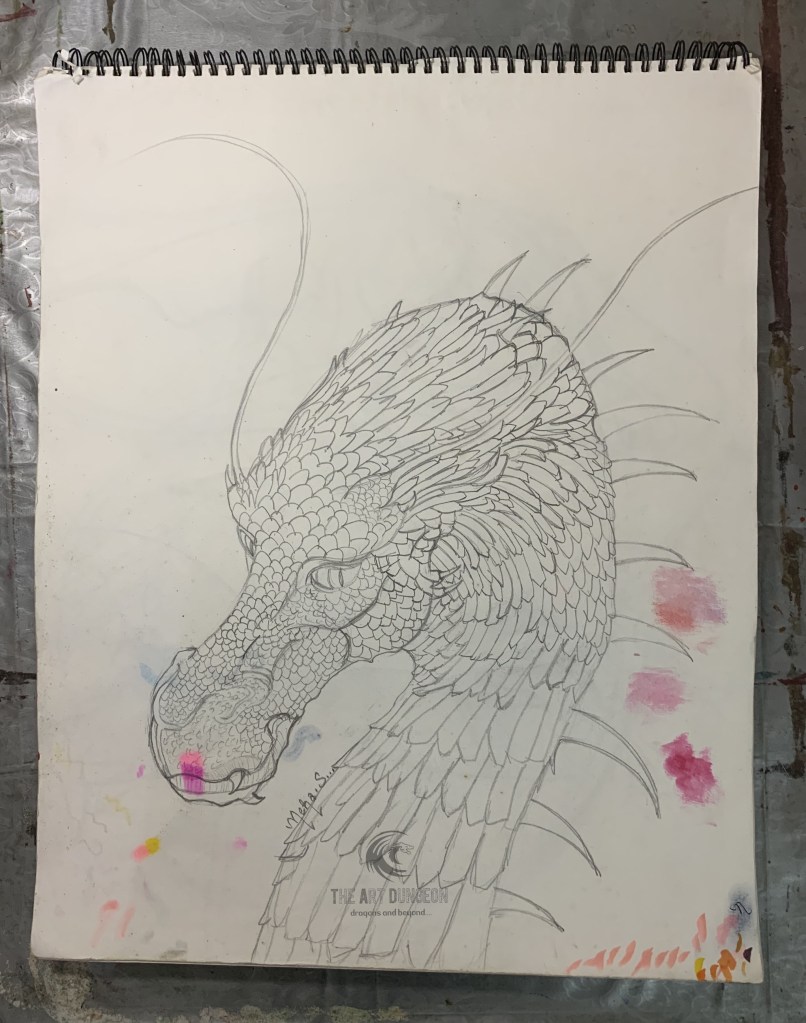
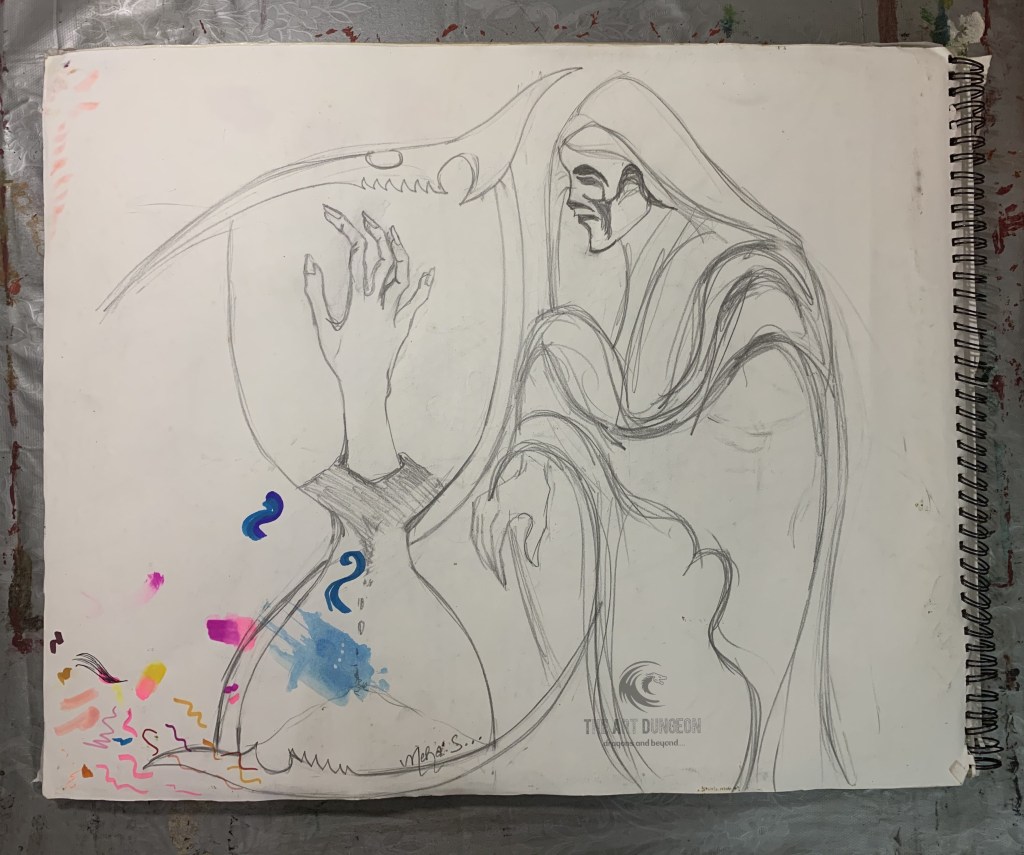
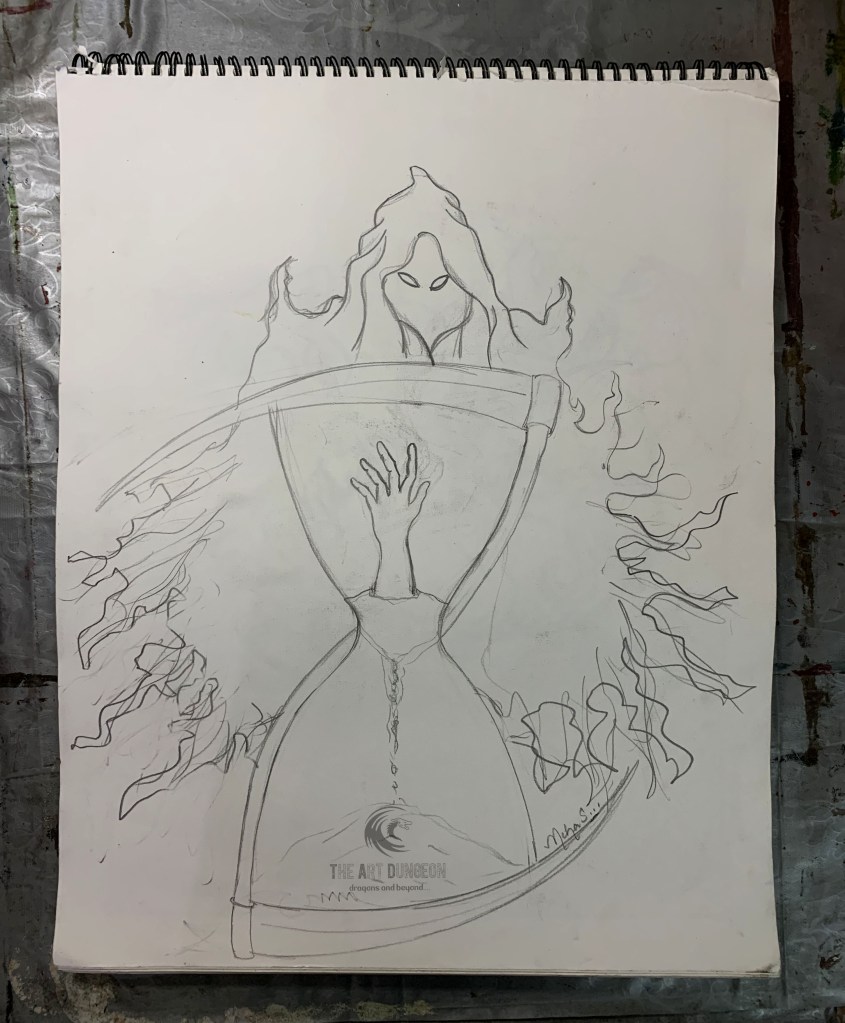
Check out my blog post titled A Tour of My Sketchbook

16. Socialize and unwind with friends and acquaintances. It will clear your head and rejuvenate the creative center of your brain.

17. Take inspiration from other genres of art like literature, music, dance and even culinary arts for new ideas. 

18. Create a Pinterest board with images that inspire you and make note of specific characteristics that appeal to you about each artwork as well as how you can incorporate these features in your own work in your own unique style. 
Check out my Pinterest inspiration board here.

My Secret Tool

As an artist, I’ve come up with my very own fool proof solution to overcome my creative slump that seems to have worked for me each and every time, at least till now! I come up with my most creative concepts just before I hit the sack. As weird as it may sound, it’s when I close my eyes and shut my brain off to the outside world that I am able dive into the deep, dark abyss of my mind and conjure magical innovations. I also keep the notes app on my iPhone handy when I’m out on a long leisurely stroll. My best ideas come when I’m surrounded by nature because my mind is free to soar and explore new horizons.  Besides these two trump cards, my trusted sketchbook and Pinterest board have always got my back, so plan B is also in place!

I consider these a form of “therapy” when I find myself in the shackles of a creative rut. You are most welcome to try them out if you are in one too. This is my troubleshooting mechanism, maybe it can be yours as well!

DISCLAIMER – All the information, data and imagery in this blog post is for informational and educational purpose only. Some images and data may have been taken from the links included below and I give full credit to these websites/pages, thereby in no way claiming them to be my own. Other data is based on my personal experiences and opinions.

Sources and Credits –

https://www.wikihow.com/Overcome-Artist%27s-Block

Inspiration for Artist Block & How to Break Through Creative Slumps
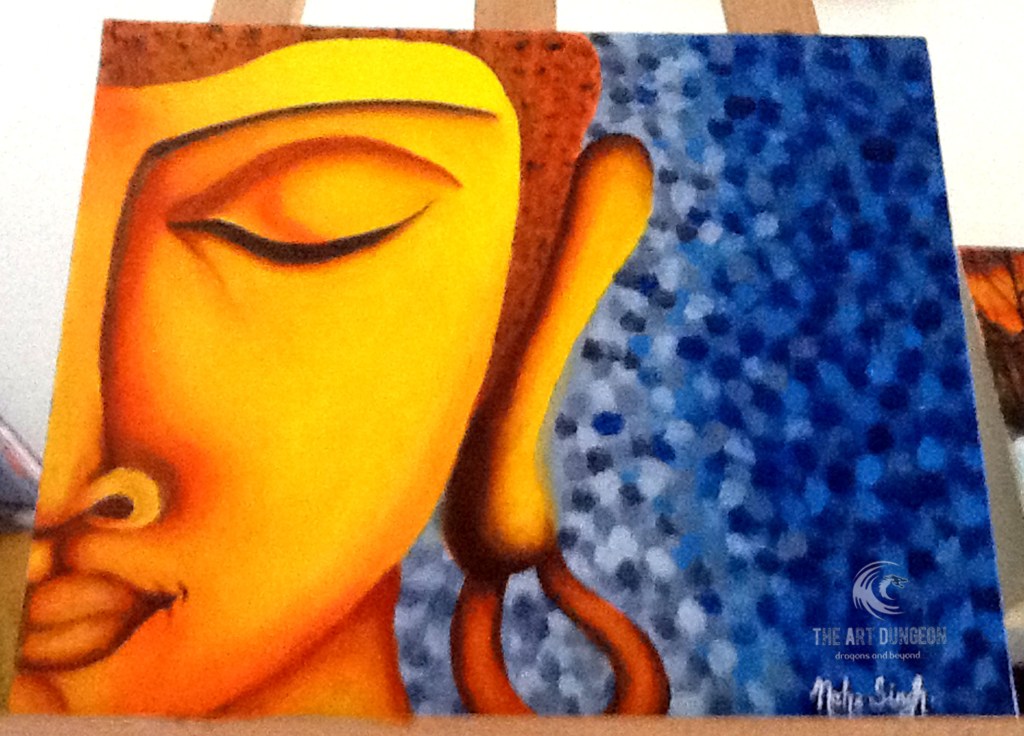
Capturing Your Art with Your Smartphone

After toiling for countless hours on a painting and finally completing it, we are so eager to share it with the world that we often rush through the most important part of the process – photography. Like framing, photographing your artwork is an important aspect that determines how successful you will be in getting it exhibited in galleries or selling it.

But this is easier said than done. One option is to hire a professional photographer, but what do you do if you can’t afford one? Well, why not give it a shot yourself? Bear in mind though that the photos of your work should be as high quality and professional as the artwork itself. 

We often invest in a wide range of photography equipment, from simple cameras to expensive DSLRs but not all of us are skilled at photography. Most of us struggle with common issues like uneven lighting, incorrect colors, and glares and shadows. If you are still a novice at photography, a smart phone will work just as well enabling you to take professional images of your art. I myself am not a professional photographer so I make regular use of my iPhone to document my work. Here are a few tips and tricks that I use to get the best out of my phone and help me get some great shots.

Preparing for photography

  • Make sure your smart phone is fully charged. You will need it to take multiple shots before you get the perfect one!
  • If you are clicking indoors, turn off artificial lights and open the curtains to let in natural light. If you are outdoors, select a shaded area to avoid glare. A cloudy day would be ideal.
  • Clear any clutter in the room and around the painting to enable you to take clean and tidy photos from various angles or distances.
  • Set up your smart phone on a tripod (if you have one). This will avoid all those blurred clicks.
  • Set up your artwork on an easel, wall or flat on the floor as you deem appropriate.
  • Use clear tape to tape your artwork to a wall if it’s on paper.
  • Keep a grey cloth handy to serve as a backdrop if there’s no bare wall.

How to take a shot

  • Taking shots in natural light will bring out the true colors of your painting accurately. You can hang your canvas on a wall outside away from direct sunlight to avoid any reflection and take a shot holding your phone vertically. Alternately, you can place it on the floor next to an open door and stand directly over it to click. This way the light outside the door will be your natural source.
  • If you own a tripod, now is the time to use it. If not, just stand or sit still with your elbows against your body and take the picture. You can also try propping the camera on something solid. This will prevent your shots from getting blurred. Take several shots as some will be out of focus or blurry.
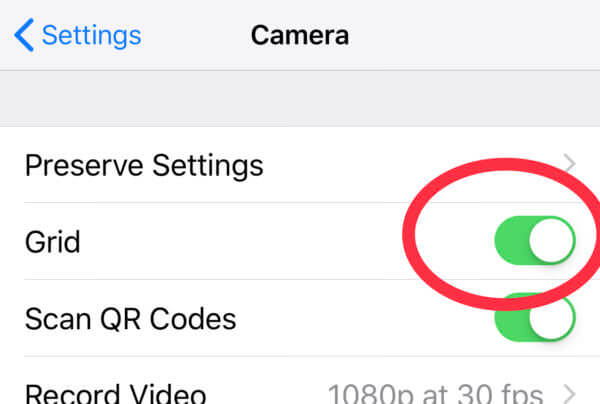
  • Ensure that the camera is vertical, i.e., the lens should line up with the artwork and not tilted. The key is making sure the angle of your painting and the angle of your phone are the same otherwise you will get a distorted perspective of your painting. Most phones, especially the iPhone provide the grid function in their camera settings that can help align your phone to the object being photographed. You can use it for shooting an artwork on the wall as well as one placed on the floor.

How to avoid glare with Smartphone

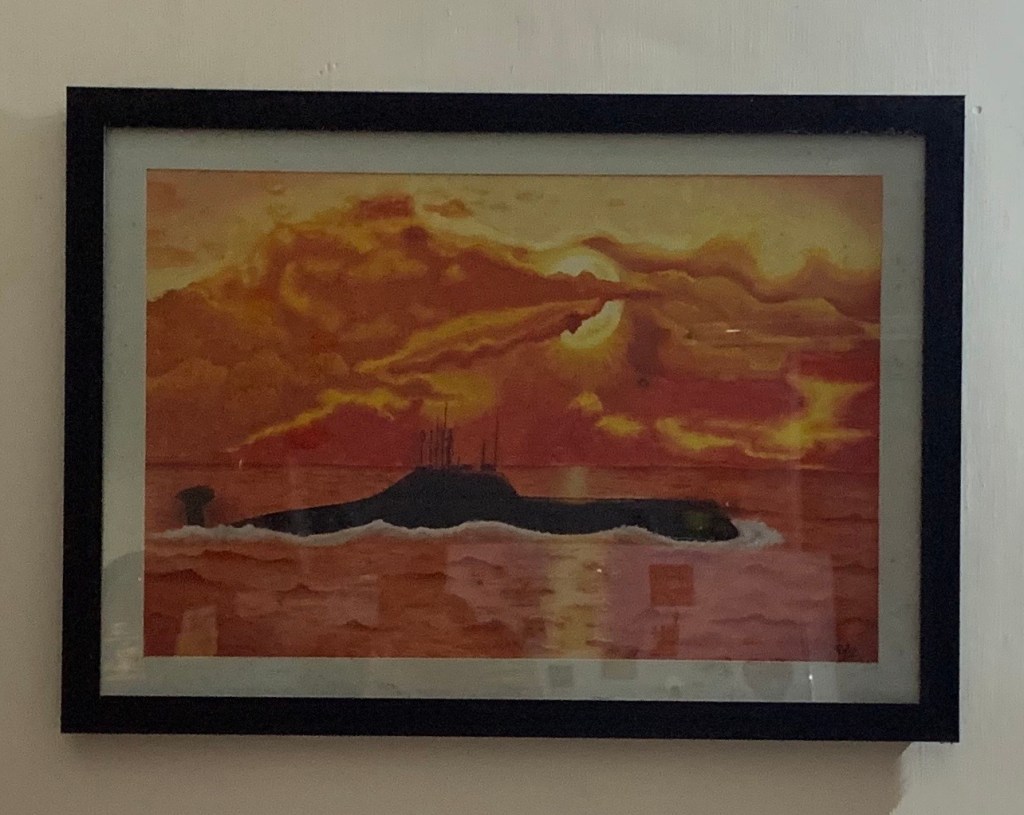
I always make it a point to photograph my work before it’s framed. That way, I can avoid reflections formed on the glass or Plexiglas on top. Even so, sometimes the natural sheen of the artworks, especially in case of oil paintings can lead to reflections. If for some reason you have to photograph your work after framing, here are a couple of options:  

  • Use polarizer filters, specifically the linear and circular ones. They are especially helpful in taking photos of a framed artwork as they reduce the light reflected on top. They also make the colors more vibrant. Just pick up the right ones for your smart phone lens.
  • Being a novice at photography, I have no clue about filters so the next best option for me is to take my shots from different angles. This requires repeated adjustments and tons of patience as I have to keep moving to different positions until the glare is no longer visible.
  • Another reason for a glare or a reflection is the flash of your camera which is reflected straight back into the lens resulting in a glare so it’s best to turn off the flash.

The best time to take photos outside is when it’s overcast as the cloud cover acts like a giant diffuser — like the umbrellas photographers use — so that the light is uniformly distributed and the artwork is evenly lit. If it’s not cloudy outside or you can’t find the perfect shaded spot, you can get two lights of the same power and color and place them halfway between the camera and the canvas at a 45-degree angle pointing toward the artwork (this will help eliminate shadows and reflections on the painting). This is what it should look like:

  • You can also use a translucent plastic bag or a white sheet as a cheap diffuser by hanging it over the light making it softer and less direct. Just make sure you don’t do this on hot lights!

Editing your photos

Most phones come with basic photo editing options but for editing finer details, you can download a photo editing app on your phone or on your computer. Some commonly used ones are Adobe Lightroom, Snapseed, Moment app, Picsart etc. While Photoshop is still the most popular, Photoshop Elements or Gimp allow basic functions such as color correction, cropping, and other minor adjustments. Here are the features that you need to correct in your image:

  • Correct the colors in your image if you feel they don’t match the ones in your original artwork. This can be done using “color correction,” “color balance,” “temperature,” or “tint” options on your phone. You can also adjust the brightness, contrast and saturation of your colors.
  • Crop the image so that your artwork fills the image and is devoid of anything distracting in the background
  • Resize your image if required and save it with the appropriate dimensions and resolution in jpeg format.

There are several other professional tricks that can be practiced to improve your photographs so this is just a starting point.  I hope these shooting tips will be of some help and make photographing your art enjoyable!

DISCLAIMER – All the information, data and imagery in this blog post is for informational and educational purpose only. Some images and data may have been taken from the links included below and I give full credit to these websites/pages, thereby in no way claiming them to be my own. Other data is based on my personal experiences and opinions. I am not a professional photographer so the tips I have shared below are merely suggestions. Please hire a professional photographer for more professional results.

Sources and Credits –

https://www.artworkarchive.com/blog/4-steps-to-photographing-your-art-like-a-professional

https://dgillart.wordpress.com/2017/04/05/photographing-artwork/

Art for a Cause

“You give but little when you give of possessions. It is when you give of yourself that you truly give.” ~ Kahlil Gibran

Creating art can not only be satisfying, but also makes us ponder and reflect about pressing issues. This is why art created to raise awareness for a cause can work wonders. It can awaken powerful and lasting emotions that consequently lead to positive action. Most artists make use of this power not just to express themselves, but also to make a statement, or contribute towards a cause.

The mere creation of an artwork aimed at creating awareness or towards a charity has a positive impact. It’s always a pleasurable experience to be associated with nonprofit organizations and other charities that are making a difference.

Artists help charities in many ways depending on their personal choices and artistic skills. One doesn’t always need to create foundations, donate big pieces of art. When it comes to painting for a cause, the sky is the limit and no contribution is too big or small. Here are a few ways through which artists can make a difference:

  • Collaborate with charities that share a common belief or work for a common cause. Paint murals for them to create awareness.
  • Create awareness through your art about current issues like environment, health care, poverty, homelessness, animals, women’s issues, peace etc.
  • Conduct workshops in hospitals, libraries, museums, clubs, neighborhood religious and cultural groups.
  • Raise funds for the charities you collaborate with by offering a percentage of proceeds from the sales of your art through an auction or raffle.
  • Volunteer for an art therapy workshop. This will be especially beneficial for those struggling with emotional and stress related issues.

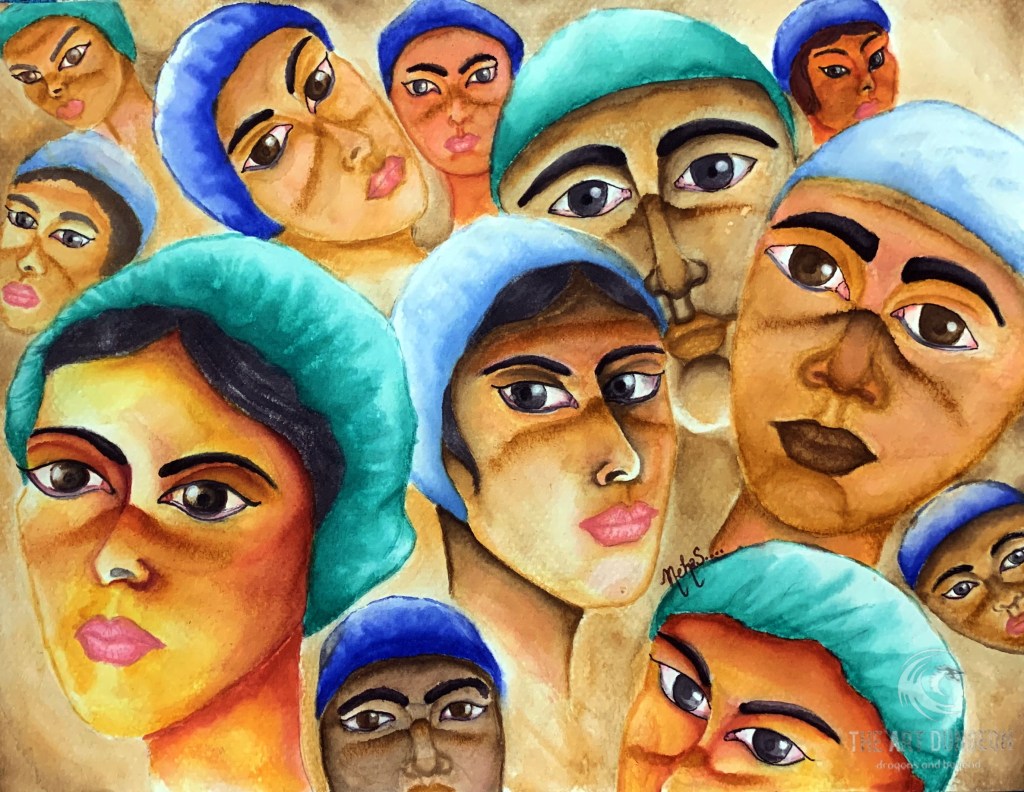
I have personally experienced the contentment and satisfaction that comes with creating art for a cause and contributing it towards the betterment of the society. It gives me great pleasure to share with you that some of the artworks from my recent COVID-19 series are up for exhibit and sale through the online Facebook portal of the art gallery, Nero Art Hub (www.neroarthub.com). A percentage of the sales from this series will go towards charity. Here are the artworks that are on display:

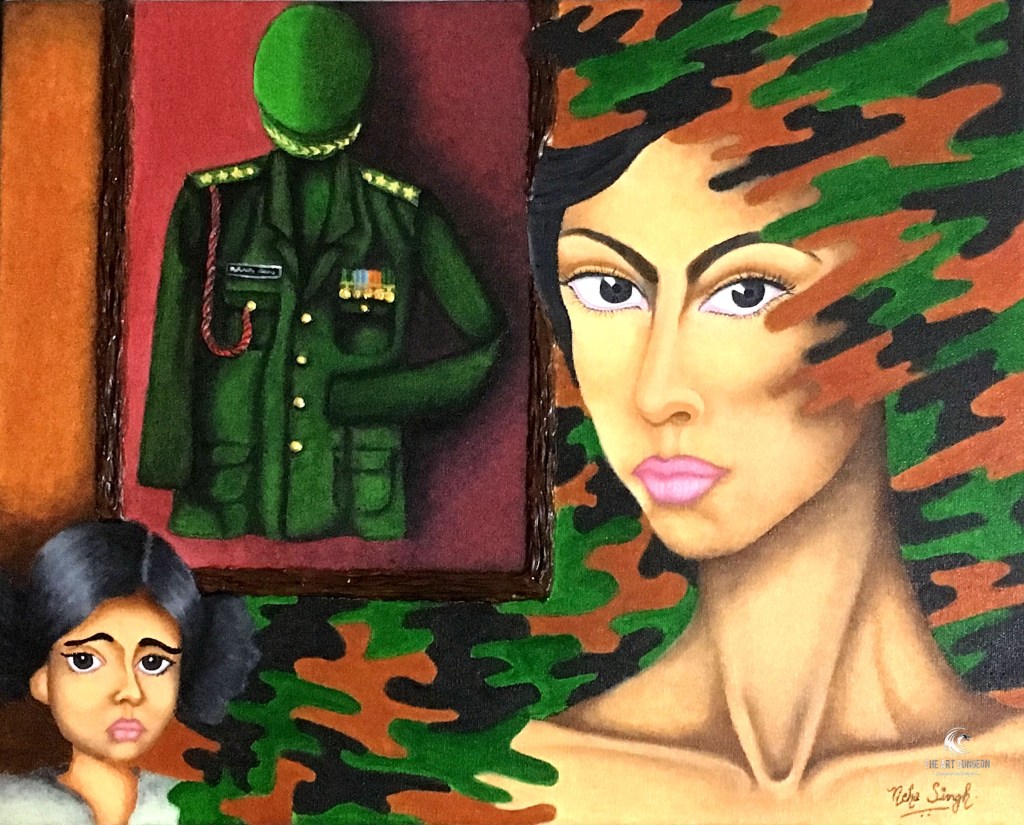
Another contribution of mine is an artwork from my Navrasa series titled Veerangana – The Unsung Heroes. I contributed this towards an online exhibition to commemorate Kargil Vijay Diwas conducted by Youth For Parivarthan, a non-profit organization. The painting is my tribute to not just the fallen soldiers of the Kargil War but also their families, who live on bravely with just their memories to hold on to. Here’s the artwork followed by the links to the exhibition:

(https://www.facebook.com/YouthForParivarthan.Official/photos/pcb.2833925406821188/2833924936821235/?type=3&theater&ifg=1

https://www.instagram.com/p/CDHCBADgnF-/ (scroll through the images to see my artwork).

Many artists have used their talents to help create awareness for a cause or contribute towards charity. You can do it too. All you need to do is find the cause that touches your heart and inspires you enough to create something artistic. In the words of Seth Godin –

“Art is an original gift, a connection that changes the recipient, a human ability to make a difference. Art isn’t a painting or even a poem, it’s something that any of us can do. If you interact with others, you have the platform to create something new — something that changes everything. I call that art.”

The Healing Power of Art

Our world is currently in the grip of a nerve-racking pandemic, COVID – 19. Stress and anxiety have always affected people but with the uncontainable proliferation of this global contagion, more people than ever before seem to be falling prey to these demons.  People are now not only suffering from stress related to money and work but also having to deal with the adverse effects of anxiety caused by this deadly microbe.

So how does one handle these nerves? Here’s how I do it….I use the healing power of art. For me, art is therapeutic. It helps me tide over all those anxious moments that are eating away into my mental and emotional well being. Art therapy can prove to be profoundly helpful in dealing with not just the present day stressful environment of the pandemic ridden world, but also help relieve workplace anxiety.

What is Art Therapy?

Art therapy is a form of therapy based on the belief that artistic expression has the power to heal our self-esteem and help us relax. Unlike other forms of therapy that rely on language as the foremost mode of communication, art requires something different, something unspoken.

How does it work?

Intensively focusing on an activity like creating art can relieve stress by distracting and refocusing the mind elsewhere. Art therapy can enable you to express what you feel without putting it into words and releases the anger, unhappiness or any other emotion within. You don’t necessarily need to be an artist to experience the therapeutic effects of art therapy. You can reap the emotional benefits of your artistic endeavors without having to worry about the aesthetic outcome. The mere satisfaction of creating something with your own hands will lift your spirits. Once you are done with your creation, you can look back at it and get an insight into the cause of your stress and figure out ways to avoid it.

What are the techniques involved?

Here are some suggestions that I personally found useful and interesting. Ideally, art therapy is best practiced under the guidance and support of an art therapist, so do consult one if my ideas don’t seem to help. Some of the images here are my own creations that have proved therapeutic for me in way or another. Others are purely for reference purposes.

  • Display your emotions on canvas

One technique is to segregate your negative emotions from the positive ones by drawing and painting them onto a canvas. All you need to do is divide a canvas into two, in one section draw and paint your negative feelings and on the other half paint and draw feelings that make you happy. This exercise will help you replace your negative sentiments with positive thoughts, thereby releasing any stress or apprehensions.

A display of my emotions on canvas
  • Digital Mediums

Another means of practicing art therapy is through digital mediums. All you need is an iPad or tablet, a stylus and any good drawing app like Adobe Photoshop Sketch or Autodesk Sketchbook. The best part about digital art therapy is that it’s easy to erase and start over! Another benefit of using digital medium is it increases concentration, focus as well as self-esteem, especially for children with autism.

A therapeutic digital creation of mine

·        Design a postcard you don’t intend to send

Sometimes illustrating all those pent up feelings about something or someone in the form of a postcard can helps deflate the problem. Designing the postcard allows you to activate different parts of your brain and helps it to relax. Once all the negativity is out on the card, you’ll find that it has lost its power to some extent.

Therapy through postcards (Reference image)

·        Cut and paste a painting to create a collage

Recreate a new artwork form a previously done painting by cutting it up and re-sticking it together in the form of a collage. This activity will motivate you to take risks and push yourself not just creatively but also in life.

Therapy through collage making (Reference image)

·        Create art in the dark

Creating art in total darkness frees you from that judgmental mind of yours that compels you to self critic your work. This in turn will also relieve the stress that comes with the judgment and criticism you have to face in other aspects of your life. You will be pleasantly surprised to see sides of yourself you never thought existed when you turn the lights on!

  • Try Mandala and Zentangle art

Zentangle and Mandala Art can prove to be extremely relaxing and therapeutic owing to their meditative qualities.  Both encourage deliberate, ritual creation and allow room for human error as no erasing is allowed. The entire process can be done in about 15 minutes and can be practiced whenever you want to.

·        Color therapy

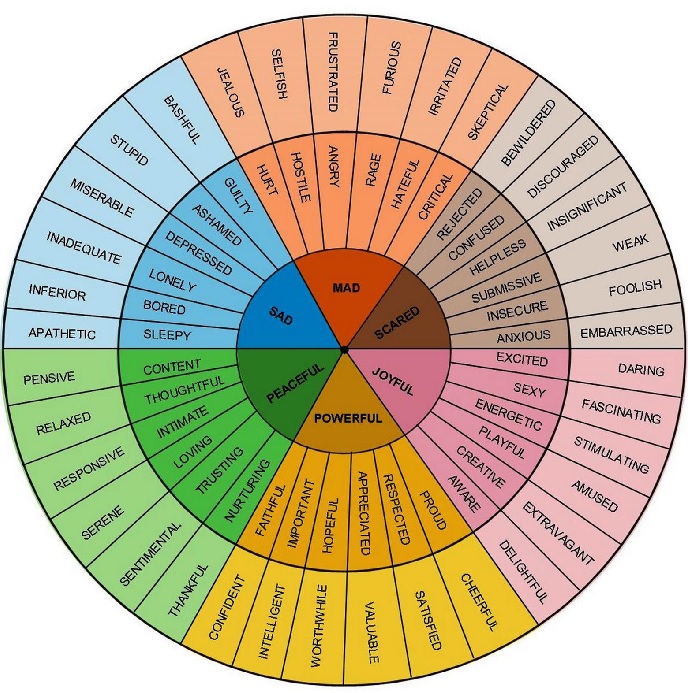
Color has the ability to affect our moods and can be used to transform our state of mind. Colors can also provide an insight into your emotional state. By cutting and pasting images with colors that symbolize your current mood (for example red or orange if you are angry) can help you figure out why you’re feeling that way and work your way out of the mood.

Color therapy (Reference image)

·        Doodling

Doodling can be a very effective form of therapy as it allows your feelings and sentiments to flow out uninhibited. The possibilities are endless and ever interconnected line, mark or shape adds on to your story. It’s like you are pouring your heart out onto the paper which will eventually make you feel lighter and calmer.

·        Make a self portrait

Creating a self portrait of yourself from your past memories helps you recall the person you were and how you have transformed and grown with time. It makes you reminisce on your good as well as bad sides and shows you that you can change for the better.

Therapy through elf portraits (Reference image)

The best part of art therapy is that you can express yourself and vent out your sentiments without uttering a word. It can help you transform your negative energy into something positive – a piece of art. That’s why I love art. Not only is it expressive, it also heals.

DISCLAIMER – All the information, data and imagery in this blog post is for informational and educational purpose only. I have only made it available with the sole effort to stimulate creative progress and artistic enrichment. Some images and data may have been taken from the links included below and I give full credit to these websites/pages, thereby in no way claiming them to be my own. Some data is based on my personal experiences and opinions. As mentioned earlier on in the post, I am not a professional art therapist and the techniques I have shared below are merely suggestions. Do consult and practice art therapy under the guidance and support of a qualified art therapist.

Sources and Credits –

https://www.huffingtonpost.in/entry/art-therapy-techniques_n_56562017e4b072e9d1c19f9b?ri18n=true

https://www.artitout.com/single-post/2014/12/04/Using-the-Feelings-Wheel

The “Mood” of Your Art

One of the tools that’s always helped me plan out my artworks is a ‘mood board’. In fact before I discovered mind mapping, creating a mood board was a precursor to each of my paintings. Being a Fashion Design graduate I remember using mood boards a lot for various projects at my design college and it’s this practice that I have carried forward to my art as well.

But do artists really use mood boards? Yes! They aren’t “mood boards” per say, but more like collages of pictures and or small objects created to express the “mood,” of a concept or theme. A typical mood board is an amalgamation of images, fonts, colors, and textures defining the theme of the work. It comes in many forms and might even be called something different depending on the industry that you’re in.

How does it help?

A mood board is a visual means for artists to keep track of what inspires them thereby keeping their creative thoughts and ideas aligned.   In art the possibilities are endless, so having a gentle way to keep you aligned can be a big help. This can be done in sketchbooks too, but they are often forgotten in a bag or abandoned in some shelf, but a mood board is a big visual that can’t be overlooked once it has been put up on display in your studio. If you feel stuck, you have a tangible object to come back to and rekindle your ideas, perhaps see what’s missing or where you were stuck and figure out a way to move on. 

How to begin…

There is no hard and fast rule for starting your mood board but here’s how I do it. I like to begin with images and lots of them! It can be anything that expresses the idea or theme I intend working with. Then comes the writing, which helps put my thoughts into words – essentially keywords that pop up in my mind about the concept behind my idea.

So how is it different from a Mind Map?

The thing about a mind map is that it’s more words than pictures. You start with a single word that describes your idea. Then you keep adding more words or phrases in the form of branches and sub branches. Keep following this spider web of branches and you will keep pushing your ideas further. This can be challenging, but being more specific will help your ideas. Some people do add images to their mind maps but as I said, it’s more about words. On the other hand, a mood board is primarily visual and images doing most of the talking.

What should you put on it?

Almost anything, but here are some examples:

  • Images from magazines – All those colorful and ‘artistic’ visuals and adverts from fashion magazines work well for backgrounds. Travel magazines can be a good source of interesting textures and shapes.
  • Fabric strips – Though this applies more for design projects, for an artist they can be a good source of colors and textures.
  • Colour swatches – Either from paint sample charts, or paint your own. Although I am personally not in favor of this as I feel it restricts an artist’s color range, so I like to leave this one out.
  • Images of other artists’ work – What is it about them that inspires you and how can you incorporate this inspiration into your own work?
  • Photos from your sketchbook.

Even though it’s a mood board, I do throw in a few words here and there just to add on to the visuals. If you are creating a mood board by hand you can cut out letters from magazines, use a stamp, print using your favorite font on your computer or just write by hand. If it’s a digital mood board then get innovative with all those lovely fonts on your computer!

Where should you display it?

I like to place my mood somewhere close to my painting so that it’s readily available for me to draw inspiration from. Ideally it should be somewhere near your work table in your studio or better still, take a photo with your phone and use it as your screensaver!

How to go about it….

·       Come up with an idea – Go through any ideas you may have in your mind. Browse through your sketchbooks and pictures on your phone for inspiration. Look up books and search Google to ignite that spark.

·       Research – Whether you’re making a physical mood board or a digital one do your research online or at a library, to collect as much material as possible.

·       Organize your thoughts and material – Spread out all your material and organize it systematically so that everything falls into place in accordance with your idea or concept. Get rid of anything that doesn’t fit in.

·       Put it all together – Once you are sure of your layout and placement, stick everything in place (in case of a physical mood board).

·       Use a mood board app for creating a digital mood boardGoMoodboard is one of the most popular online mood board apps. With no account required, simply click and drag images onto your project to create a mood board.

Here’s a mood board for a painting that I am going to be starting soon – based on Adbhuta rasa (the emotion of wonder). I used Adobe Photoshop to do this one.  It’s not an exact blueprint for the painting, but just a representation of the concept and ideas I wish to express through the final artwork. I had shared a mind map for this very artwork in an earlier post. Do check it out as well to see the difference!

The mood board for my next project

A Tour of My Sketchbook

I have a confession to make. I have never been the type to maintain a proper sketchbook. More or less all my sketches are done directly on the canvas or the paper that will eventually end up being the final artwork. But lately I have realized that sketchbooks are a great way for artists to practice and fine tune their art. The sketches and doodles you create in your sketchbook are essentially the seeds of your creative thoughts and ideas that will ultimately sprout and grow into your masterpieces.

The alliance between an artist and his or her sketchbook can take a number of forms — a daily log of inspiration, a blueprint for an upcoming artwork, or an outlet for expressing his or her thoughts. No matter what form it takes, it will have a definitive impact on the artist’s creative process. This creative process plays an important role in an artist’s attempts to successfully execute a concept. Essentially, your sketchbook can be your verbal and or visual medium of expression.

Benefits of a Sketchbook

Maintaining a sketchbook has a lot of benefits.If you ever feel uninspired or want to track your progress, you can glance back at your old sketchbooks to see how you have evolved. You can also refer to them to determine your style. It can help you preserve your ideas for posterity. It is a handy way of recording all your observations and learning from real life. Keeping a sketchbook is a great way to explore new avenues and venture into seemingly unchartered territories.
Being a storehouse of inspiration, sketchbooks keep motivating us to hone our skills every time we glance through them. The more we practice the better results we get and the further we move along in our creative journey.

How to get the most out of your Sketchbook

  • Log the date every time you start working in a sketchbook so that you can monitor your progress. This can be extremely motivating especially when you have an artist’s block.
  • Carry a compact sketchbook whenever you are out and about so that you can document your ideas as soon as you come across something that inspires you. Sometimes great ideas are easily forgotten once the inspiration is out of sight. So having them safely recorded in your sketchbook makes them available for the future.
  • There is a sketchbook for every medium, whether it is oils, watercolors, gouache, pencil, pen and ink or mixed media. All you need to do is get hold of the right one.
  • Jot down notes and self critic your work about the subject, concept and technique for the artwork at hand.  This will contribute greatly to your growth as an artist. 
  • Don’t try to be perfect.
    Your sketchbook is a place for you to explore and learn. It’s your personal space where you are free to mess around. After all, great art comes out of a mess!  Just relax and enjoy the process!

I have come to realize that a sketchbook is even more important than the final piece as it displays all the work you have put in to get to where you are today. It also made me realize that sometimes working directly onto the canvas doesn’t necessarily get you the outcome you expect.

Since this realization has dawned upon me, I have tried to make a conscious effort to fill up that sketchbook of mine that has been lying in a state of neglect for years. There was a time when I used to sketch in it before I got down to working on my canvas but over time I seem to have overlooked this step. These simple pencil sketches they made me aware of my evolution as an artist and thus motivated me to pick up the habit once again.

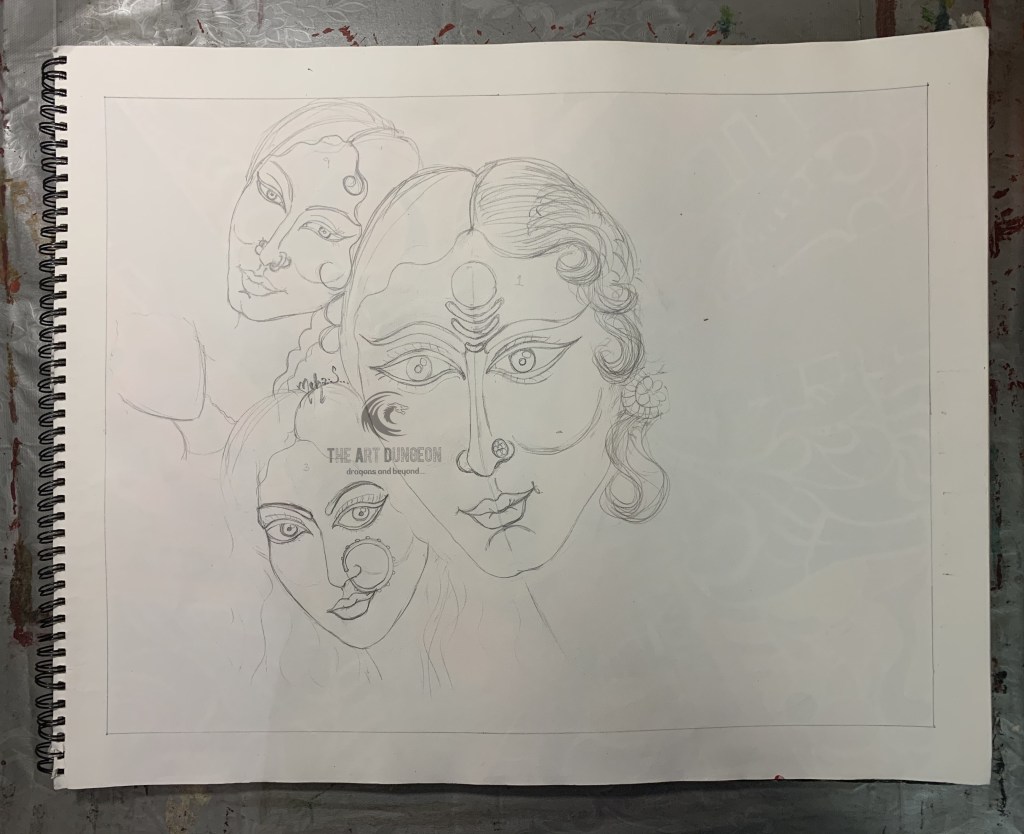
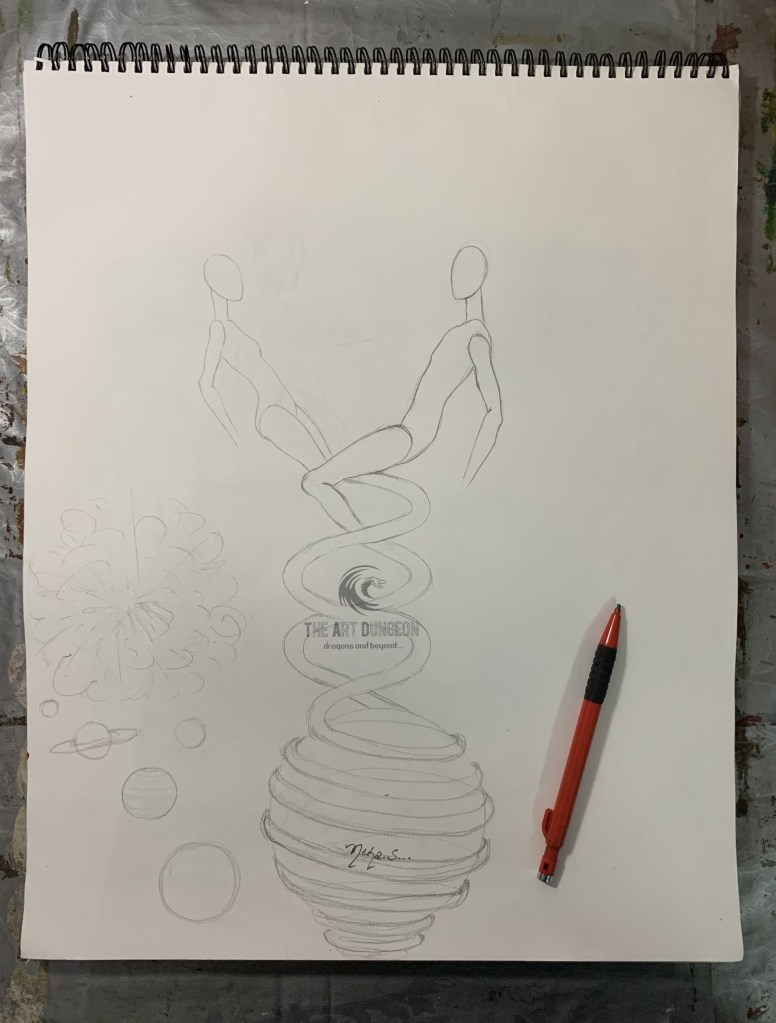
So now it will be my constant endeavor to document my ideas first and foremost in my precious sketchbook before I execute them onto the canvas or the final surface. I may even go one step ahead and explore new techniques and mediums within the sketchbook itself. Even though my sketchbook is still work in progress and my personal space, I wouldn’t mind giving you all a peek into it. So here are a few glimpses of some scribblings and doodles from the past. Hope you enjoy them!

My First Mind Map

Last week I had published a post about mind mapping. This one is an extension of that, wherein I have delved into the intriguing world of mind maps and attempted to organize the whirlwind of ideas storming my brain into something meaningful.

The mind map displayed in this post is a precursor to my next painting which is part of my long pending Navrasa Series covering the 9 basic human emotions (refer to previous posts to view the series). The emotion I will be depicting next is called “Adbhuta Rasa” which in simpler terms means “wonder” and “amazement.” This one has been a huge challenge for me as it’s not easy depicting an emotion as profound as wonder. It is something that we feel and express on a daily basis and it knows no bounds. Anything and everything can become a cause of wonder for the human mind. So the question I asked myself while working this one out was what is the greatest wonder for the human race?

Without going too much into detail about the concept behind this artwork, here’s a draft of my thoughts and ideas that I have plotted graphically using an online mind mapping app called Ayoa (https://app.ayoa.com/).  So let my mind map do the talking! (Click on the link below the image to view the map in detail)

My mind map for “Adbhuta Rasa” (Wonder)Click on link below to view in detail

Mind Mapping for Art

Having trouble organizing your artistic thoughts and ideas? Have your creative musings become a tangled mess? Want to harmonize your aesthetic reflections and transform them into your artistic expressions?  

Artist and inventor, Leonardo da Vinci, said, “Everything is connected to everything else.”

Most artists commence their creative process by brainstorming possible concepts or themes for their artworks. Sometimes ideas pop up inside our heads one after the other so rapidly, that it becomes almost impossible to keep track or to retain them in our memories. At times like these, when our thoughts are in a clutter, we need to document them in a systematic and organized manner so that we can see clearly through the chaos.

When our multi-dimensional thinking triggers a tsunami of ideas and listing these down in a sequence becomes a daunting task, a Mind Map can help by rounding up, organizing and recording them graphically as well as visually. 

What is a mind map?

Mind map creator Tony Buzan coined the term ‘mind map’ to refer to a diagram that has a branch or root-like structure radiating from a central image on the page, and which uses lines and colour to show relationships, groupings and connections between words, ideas and images. A mind map helps one to think out of box by ensuring that a wide range of possibilities are considered, thereby bringing clarity of thought.

mind map is nothing but a graphic organizer that uses a diagram to visually organize ideas and concepts. The main idea or concept is placed in the center of the diagram, and then related ideas are added to it in a radial fashion.   It is a visual thinking tool that structures information, helping you to better analyze, comprehend, synthesize, recall and generate new ideas. Just as in every great idea, its power lies in its simplicity.

How to make a mind map

Tony Buzan has set official guidelines for drawing a mind map on the ThinkBuzan website. These include:

  • Using a landscape format.
  • Starting with a central image in the middle of your page to represent your main concept or theme.
  • Using curving lines to add branches to the centre that represent secondary ideas with respect to the main concept and then connecting these to smaller branches representing topics describing and extending these ideas in detail; use single words and images.
  • Adding colours doodles and symbols for aesthetic and organizational purposes as well as making the mind map more effective.
  • Using short topic and sub topic headings. A single word or better yet, a picture or image will work best.
  • Varying text size, color and alignment. Vary the thickness and length of the lines to provide as many visual cues as you can to emphasize important points. Every little bit helps in engaging your brain and unlocking its creative potential.

A mind map can have different formats such as a tree diagram, spider diagram – or even just a flurry of thoughts on paper, as long as it displays the possibilities for a central concept.

Some Creative Mind Map Ideas

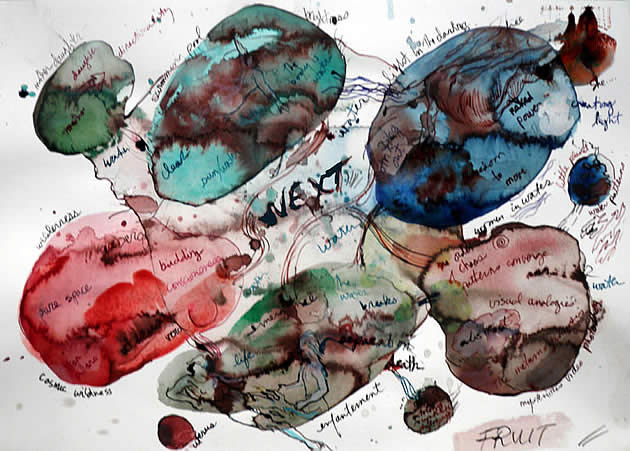
Here are some interesting and innovative minds maps created by artists(click on thumbnails to view full image) :

Advantages of Mind Mapping

Mind mapping increases creativity and productivity by helping you come up with more unique ideas in lesser time and also improves your brain’s cognitive powers. It opens your mind while brainstorming and gets rid of hurdles posed by linear thinking. It’s a great way to sort out and link up the ideas you have brainstormed on a single page as all the data is visually available at a glance. It can even lead to the triumphant discovery of relationships between seemingly unrelated topics.

Disadvantages of Mind Mapping

Inspite of all the benefits, mind mapping has some disadvantages too. If you are a left brained or logical person, radial thinking is predominant. While brainstorming you need to be intuitive so as to allow ideas to flow freely. This is tough as logic tells them it’s not possible. Moreover, mind maps can become too complicated if not structured well, making them difficult to understand. Another setback with a mind map is that in order to comprehend it completely, active participation is required as it involves a step by step process while structuring it so it might be a little difficult for people who did not go through the process themselves to make sense of the mind map. But the good news is all these problems can be fixed!

Mind mapping is such an extensive concept that this post just about covers the tip of the iceberg. I personally find the entire idea of mind mapping extremely intriguing and would love to give it a shot for my future artworks. Hope you all are also inspired to try it out as well!

DISCLAIMER – All the information, data and imagery in this blog post is for informational and educational purpose only. While there may be copyrighted material the use of which has not always been specifically authorized by the copyright owner, I have only made it available with the sole effort to stimulate creative progress and artistic enrichment. Some images may have been taken from the links included below and I give full credit to these websites/pages, thereby in no way claiming them to be my own. I have also used these links for reference purposes and collection of data; therefore I give full credit to the respective web pages. Most of the data in this post is based on my personal experiences and opinions and I am not responsible for any material that is found in the links at the end of this post.

Sources and Photo Credits –

https://www.studentartguide.com/articles/how-to-make-a-mindmap-creative-ideas

https://litemind.com/what-is-mind-mapping/

Let’s get Digital!

The 21st century is the age of digital advancement where technology has completely revolutionalized the world. This digital revolution has also penetrated the world of art and transformed the way artists think, create and innovate. The art world is no longer confined within the four walls of galleries and museums, but is chartering new territories of its own into the cyber world. Digital technology has not just opened up new avenues for artists, it has also changed the entire outlook towards art. The impact of digital technology has greatly altered activities such as painting, drawing and even sculpture. From digital painting, to illustration and even photography, it has affected how art is created as well as presented.

But what is digital art?  It is the practice of creating works of art that are computer generated, scanned or drawn using a tablet or mouse. This includes digitally manipulated videos as well as photographs.

Digital illustration or computer illustration is the use of digital tools to produce images, usually through a pointing device such as a mouse. A mouse may not be very precise for drawing, so a graphics tablet is a better tool for a digital illustrator, because it allows the user to make marks that look more like the natural lines made by the human hand. Moreover, the pressure-sensitive surface, allows for faint to bold and thin to broad marks. These variations mimic traditional wet and dry media.

There are two main types of tools used for digital illustration: bitmapped (or “raster”) and vector applications. Bitmap applications are commonly called “painting” programs, such as Adobe Photoshop, while vector applications like Adobe Illustrator are called “drawing” programs.

Digital painting is an art form in which traditional painting techniques such as watercolor, oils, impasto, etc. are applied using digital tools (software) on a computer or a graphics tablet using a mouse or stylus respectively. All digital painting programs have digital brushes for traditional styles like oils, acrylics, pastels, charcoal, pen and even airbrushing.

Digital painting software such as Corel Painter, Adobe Photoshop, ArtRage, GIMP, Krita and OpenCanvas give artists a similar environment to a physical painter – a canvas, painting tools, mixing palettes, and a multitude of color options. There are various types of digital painting, including impressionism, realism, and watercolor.

Advantages of Digital Art

  • More efficient – Easier to get started and work quickly.
  • More forgiving – Nothing is permanent when you have the undo button.
  • More exploration – Unlimited experimental possibilities.
  • Easier duplication – Ideal for working with clients.
  • Equipment/Materials – Ease of working in an organized, mess-free environment
  • Instant Sharability – Because digital art is already stored on a digital device, it is easier for artists to share their work in its highest form either on websites or through social media instantly.

There are some drawbacks also of digital painting. Some argue there will always be more control for an artist holding a physical brush in their hand. Others believe the character that is unique to physically made art is missing from digital painting.

Here are some of the best drawing apps:

  • Adobe Illustrator Draw.
  • Adobe Photoshop Sketch.
  • ArtFlow.
  • MediBang Paint.
  • Infinite Painter.
  • Autodesk SketchBook.
  • PaperColor.
  • DotPict.
  • Procreate.

The world of digital art is like a virtual simulation of the real art world. Digital art has changed not just how artists can express their creativity, but also how the audiences experience art. It is ever changing so is still in its nascent stage, but with time it will surely grow and mature into a fully developed art form. The day is not far away when the seemingly unorganized and random digital art world paves a definitive path for itself. The future holds the defining moments for digital art.

Here are a couple of my own explorations with digital art. Still getting a hang of it but I am loving it!!

Art for Art’s Sake

Heard of the phrase “Art for Art’s Sake?” It is a simple expression for the philosophy that “true” art is divorced from any didactic, moral, or utilitarian function. The basic idea is that art is by definition aesthetical and thus can have no other purpose. In addition, art’s role is not to educate or to enlighten someone. It exists just for itself.

Oscar Wilde is considered the father of aesthetics. The phrase l’art pour l’art (“art for art’s sake”) was coined by the philosopher Victor Cousin, in 1818. According to him and several other philosophers of the century, social and political themes are irrelevant and should not be used in art making unless they render the final product “beautiful”.

This approach to art was elucidated in the 19th century by the Aesthetic Movement that promoted pure beauty and aesthetic values by accentuating visual and sensual qualities of art rather than practical, socio-political, moral or narrative considerations. So art from this movement didn’t give emphasis to deeper meaning.

History and Origin

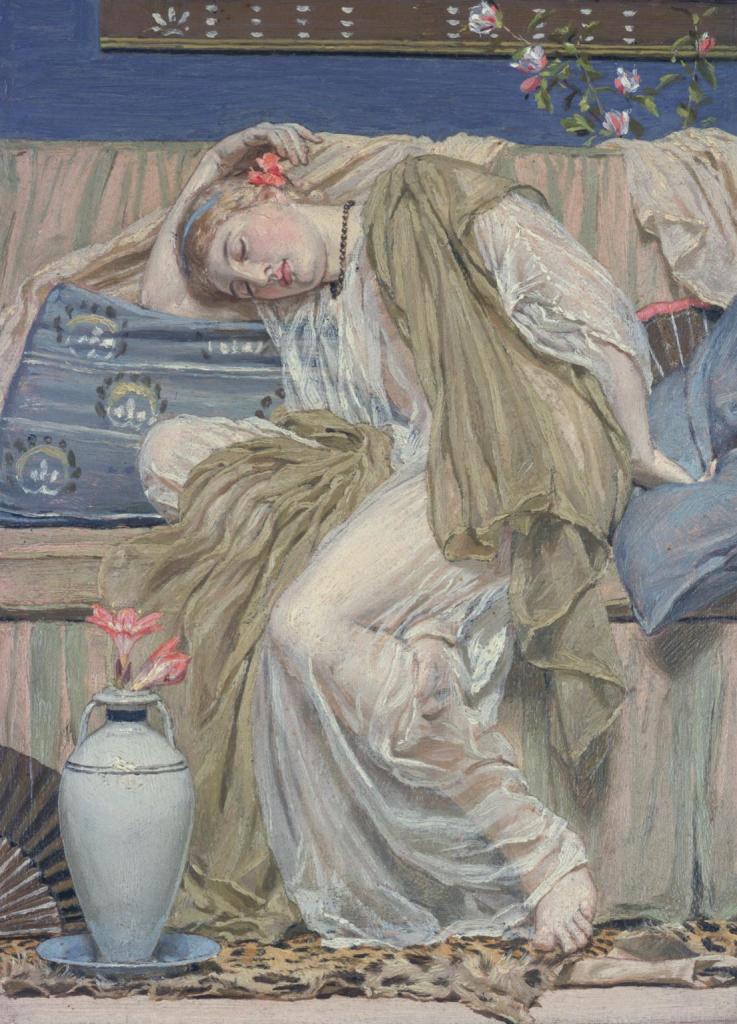
The aesthetic movement flourished in Britain in the 1870s and 1880s. In painting it was exemplified by J.M. WhistlerAlbert Moore and certain works by Frederic, Lord Leighton. Japanese art and culture was an important influence, especially on Whistler and aesthetic design. Aestheticism shared certain affinities with the French Symbolist movement, fostered the Arts and Crafts Movement, and sponsored Art Nouveau. From 1875 the ideals of aestheticism were commercialized by the Liberty store in London, which later also popularized Art Nouveau.

The movement began in reaction to prevailing utilitarian social philosophies and to what was perceived as the ugliness and philistinism of the industrial age. In England, the artists of the Pre-Raphaelite Brotherhood, from 1848, had sown the seeds of Aestheticism, and the work of Dante Gabriel Rossetti, Edward Burne-Jones, and Algernon Charles Swinburne exhibited it and expressed a yearning for ideal beauty through conscious medievalism. The painter James McNeill Whistler raised the movement’s ideal of the cultivation of refined sensibility to perhaps its highest point.

The roots of Aestheticism can be traced back to the 1860’s; however, it was not until the 1880’s that the movement gained noticeable popularity. The Aesthetic movement is often associated with the French term fin de siècle,” or the “end of the century,” which refers to the closing of an existing era and implies the beginning of a new one. It is often used to describe late 19th century Britain, a time when the ideals of the Victorian Age were losing precedence and being replaced by Aesthetic values. The Aesthetic movement denounced the sober morality and middle-class values that characterized the Victorian Age and embraced beauty as the chief pursuit of both art and life.

The Aesthetic Movement provided a challenge to the Victorian public when it declared that art was divorced from any moral or narrative content. In an era when art was supposed to tell a story, the idea that a simple expression of mood or something merely beautiful to look at could be considered a work of art was radical. In its assertion that a work of art can be divorced from narrative, the ideas of the Aesthetic Movement paved the road towards Modern Art. The movement is often considered to have ended with Oscar Wilde’s trials, which began in 1895.

Modern Day Aestheticism

Although aestheticism emerged more than 150 years ago, it’s still active today and very powerful too. Every time an art movement rejects pure aesthetical approach towards art, supporters of aestheticism raise their voices, questioning the quality of such art. So, aestheticism is not some art movement that existed in history and disappeared into oblivion – it’s still alive.

There are no specific names from the world of contemporary art today that would fit into the genre of aestheticism because artists usually tend to distance themselves from this movement. Apparently majority of contemporary artists reject basic principles and ideas of aestheticism.

Still, the movement is quite vivid, particularly its intellectual side. If we take a look at the contemporary art scene, we will see that the vast majority of pieces that are popular could not be labeled as products of aestheticism. In my personal opinion there are enough artists who create art with the sole purpose of making something beautiful without any deeper meaning behind it. Here are a few of my favorite art pieces which I feel fit the bill of aesthetic art. I hope you all will appreciate them for their sheer beauty as much as I do!

DISCLAIMER – All the information, data and imagery in this blog post is for informational and educational purpose only. While there may be copyrighted material the use of which has not always been specifically authorized by the copyright owner, I have only made it available with the sole effort to stimulate creative progress and artistic enrichment. Some images may have been taken from the links included below and I give full credit to these websites/pages, thereby in no way claiming them to be my own. I have also used these links for reference purposes and collection of data; therefore I give full credit to the respective web pages. Most of the data in this post is based on my personal experiences and opinions and I am not responsible for any material that is found in the links at the end of this post.

Sources and Photo Credits –

https://www.tate.org.uk/art/art-terms/a/aesthetic-movement

https://www.britannica.com/art/Aestheticism

https://www.khanacademy.org/humanities/becoming-modern/victorian-art-architecture/pre-raphaelites/a/the-aesthetic-movement

https://www.widewalls.ch/magazine/abstract-illusionism