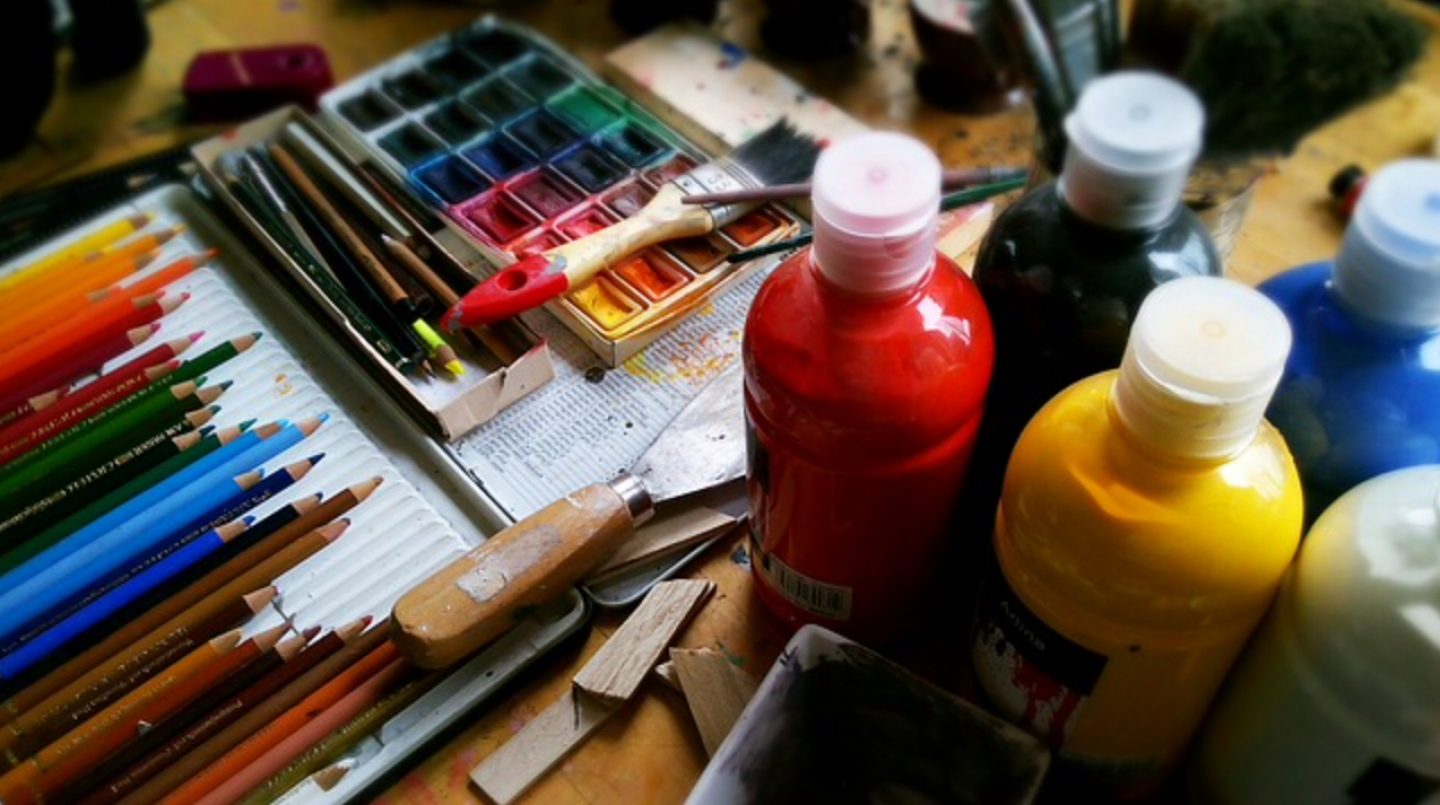

One of the tools that’s always helped me plan out my artworks is a ‘mood board’. In fact before I discovered mind mapping, creating a mood board was a precursor to each of my paintings. Being a Fashion Design graduate I remember using mood boards a lot for various projects at my design college and it’s this practice that I have carried forward to my art as well.
But do artists really use mood boards? Yes! They aren’t “mood boards” per say, but more like collages of pictures and or small objects created to express the “mood,” of a concept or theme. A typical mood board is an amalgamation of images, fonts, colors, and textures defining the theme of the work. It comes in many forms and might even be called something different depending on the industry that you’re in.
How does it help?
A mood board is a visual means for artists to keep track of what inspires them thereby keeping their creative thoughts and ideas aligned. In art the possibilities are endless, so having a gentle way to keep you aligned can be a big help. This can be done in sketchbooks too, but they are often forgotten in a bag or abandoned in some shelf, but a mood board is a big visual that can’t be overlooked once it has been put up on display in your studio. If you feel stuck, you have a tangible object to come back to and rekindle your ideas, perhaps see what’s missing or where you were stuck and figure out a way to move on.
How to begin…
There is no hard and fast rule for starting your mood board but here’s how I do it. I like to begin with images and lots of them! It can be anything that expresses the idea or theme I intend working with. Then comes the writing, which helps put my thoughts into words – essentially keywords that pop up in my mind about the concept behind my idea.
So how is it different from a Mind Map?
The thing about a mind map is that it’s more words than pictures. You start with a single word that describes your idea. Then you keep adding more words or phrases in the form of branches and sub branches. Keep following this spider web of branches and you will keep pushing your ideas further. This can be challenging, but being more specific will help your ideas. Some people do add images to their mind maps but as I said, it’s more about words. On the other hand, a mood board is primarily visual and images doing most of the talking.
What should you put on it?
Almost anything, but here are some examples:
- Images from magazines – All those colorful and ‘artistic’ visuals and adverts from fashion magazines work well for backgrounds. Travel magazines can be a good source of interesting textures and shapes.
- Fabric strips – Though this applies more for design projects, for an artist they can be a good source of colors and textures.
- Colour swatches – Either from paint sample charts, or paint your own. Although I am personally not in favor of this as I feel it restricts an artist’s color range, so I like to leave this one out.
- Images of other artists’ work – What is it about them that inspires you and how can you incorporate this inspiration into your own work?
- Photos from your sketchbook.
Even though it’s a mood board, I do throw in a few words here and there just to add on to the visuals. If you are creating a mood board by hand you can cut out letters from magazines, use a stamp, print using your favorite font on your computer or just write by hand. If it’s a digital mood board then get innovative with all those lovely fonts on your computer!
Where should you display it?
I like to place my mood somewhere close to my painting so that it’s readily available for me to draw inspiration from. Ideally it should be somewhere near your work table in your studio or better still, take a photo with your phone and use it as your screensaver!
How to go about it….
· Come up with an idea – Go through any ideas you may have in your mind. Browse through your sketchbooks and pictures on your phone for inspiration. Look up books and search Google to ignite that spark.
· Research – Whether you’re making a physical mood board or a digital one do your research online or at a library, to collect as much material as possible.
· Organize your thoughts and material – Spread out all your material and organize it systematically so that everything falls into place in accordance with your idea or concept. Get rid of anything that doesn’t fit in.
· Put it all together – Once you are sure of your layout and placement, stick everything in place (in case of a physical mood board).
· Use a mood board app for creating a digital mood board – GoMoodboard is one of the most popular online mood board apps. With no account required, simply click and drag images onto your project to create a mood board.
Here’s a mood board for a painting that I am going to be starting soon – based on Adbhuta rasa (the emotion of wonder). I used Adobe Photoshop to do this one. It’s not an exact blueprint for the painting, but just a representation of the concept and ideas I wish to express through the final artwork. I had shared a mind map for this very artwork in an earlier post. Do check it out as well to see the difference!


And here I thought that artists just pick up a brush and start dabbling.
It is interesting though. I like the idea of a mood board and the various methods to it.
Learnt a lot from mind mapping to this one. It seems like a journey where you walk through your thoughts and mind pictures.
LikeLiked by 1 person
Very interesting concept of a mood board. something like a idea corner and as so succinctly put by you i can understand how it can help marshal your thoughts for a painting or for that matter any art work
LikeLiked by 1 person