
After toiling for countless hours on a painting and finally completing it, we are so eager to share it with the world that we often rush through the most important part of the process – photography. Like framing, photographing your artwork is an important aspect that determines how successful you will be in getting it exhibited in galleries or selling it.
But this is easier said than done. One option is to hire a professional photographer, but what do you do if you can’t afford one? Well, why not give it a shot yourself? Bear in mind though that the photos of your work should be as high quality and professional as the artwork itself.
We often invest in a wide range of photography equipment, from simple cameras to expensive DSLRs but not all of us are skilled at photography. Most of us struggle with common issues like uneven lighting, incorrect colors, and glares and shadows. If you are still a novice at photography, a smart phone will work just as well enabling you to take professional images of your art. I myself am not a professional photographer so I make regular use of my iPhone to document my work. Here are a few tips and tricks that I use to get the best out of my phone and help me get some great shots.
Preparing for photography
- Make sure your smart phone is fully charged. You will need it to take multiple shots before you get the perfect one!
- If you are clicking indoors, turn off artificial lights and open the curtains to let in natural light. If you are outdoors, select a shaded area to avoid glare. A cloudy day would be ideal.
- Clear any clutter in the room and around the painting to enable you to take clean and tidy photos from various angles or distances.
- Set up your smart phone on a tripod (if you have one). This will avoid all those blurred clicks.
- Set up your artwork on an easel, wall or flat on the floor as you deem appropriate.
- Use clear tape to tape your artwork to a wall if it’s on paper.
- Keep a grey cloth handy to serve as a backdrop if there’s no bare wall.
How to take a shot
- Taking shots in natural light will bring out the true colors of your painting accurately. You can hang your canvas on a wall outside away from direct sunlight to avoid any reflection and take a shot holding your phone vertically. Alternately, you can place it on the floor next to an open door and stand directly over it to click. This way the light outside the door will be your natural source.
- If you own a tripod, now is the time to use it. If not, just stand or sit still with your elbows against your body and take the picture. You can also try propping the camera on something solid. This will prevent your shots from getting blurred. Take several shots as some will be out of focus or blurry.
- Ensure that the camera is vertical, i.e., the lens should line up with the artwork and not tilted. The key is making sure the angle of your painting and the angle of your phone are the same otherwise you will get a distorted perspective of your painting. Most phones, especially the iPhone provide the grid function in their camera settings that can help align your phone to the object being photographed. You can use it for shooting an artwork on the wall as well as one placed on the floor.
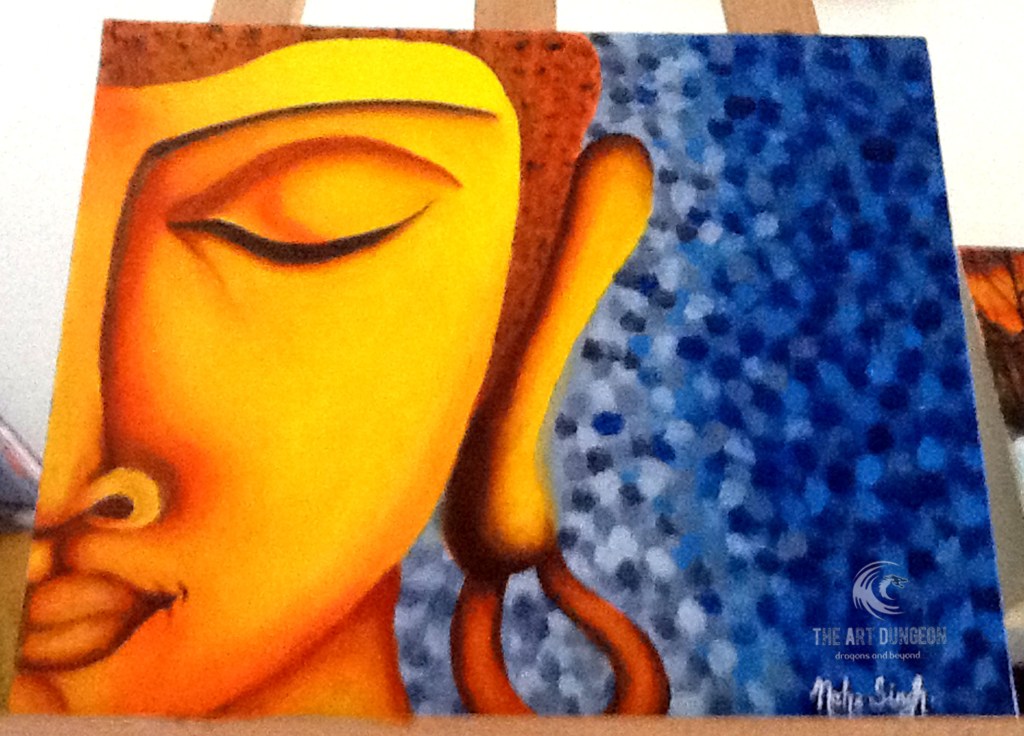
A skewed (distorted perspective) of one of my paintings 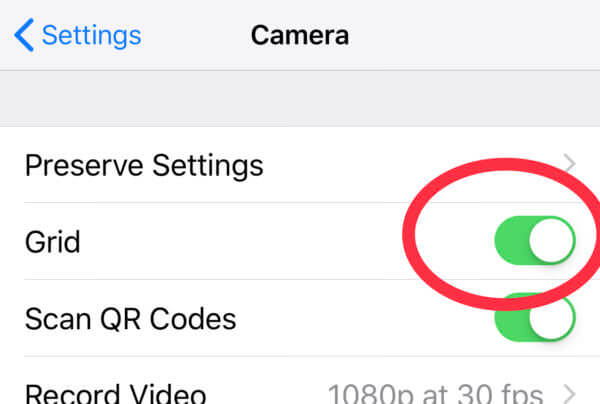
The grid function on my iPhone
How to avoid glare with Smartphone
I always make it a point to photograph my work before it’s framed. That way, I can avoid reflections formed on the glass or Plexiglas on top. Even so, sometimes the natural sheen of the artworks, especially in case of oil paintings can lead to reflections. If for some reason you have to photograph your work after framing, here are a couple of options:
- Use polarizer filters, specifically the linear and circular ones. They are especially helpful in taking photos of a framed artwork as they reduce the light reflected on top. They also make the colors more vibrant. Just pick up the right ones for your smart phone lens.
- Being a novice at photography, I have no clue about filters so the next best option for me is to take my shots from different angles. This requires repeated adjustments and tons of patience as I have to keep moving to different positions until the glare is no longer visible.
- Another reason for a glare or a reflection is the flash of your camera which is reflected straight back into the lens resulting in a glare so it’s best to turn off the flash.


The best time to take photos outside is when it’s overcast as the cloud cover acts like a giant diffuser — like the umbrellas photographers use — so that the light is uniformly distributed and the artwork is evenly lit. If it’s not cloudy outside or you can’t find the perfect shaded spot, you can get two lights of the same power and color and place them halfway between the camera and the canvas at a 45-degree angle pointing toward the artwork (this will help eliminate shadows and reflections on the painting). This is what it should look like:

- You can also use a translucent plastic bag or a white sheet as a cheap diffuser by hanging it over the light making it softer and less direct. Just make sure you don’t do this on hot lights!
Editing your photos
Most phones come with basic photo editing options but for editing finer details, you can download a photo editing app on your phone or on your computer. Some commonly used ones are Adobe Lightroom, Snapseed, Moment app, Picsart etc. While Photoshop is still the most popular, Photoshop Elements or Gimp allow basic functions such as color correction, cropping, and other minor adjustments. Here are the features that you need to correct in your image:
- Correct the colors in your image if you feel they don’t match the ones in your original artwork. This can be done using “color correction,” “color balance,” “temperature,” or “tint” options on your phone. You can also adjust the brightness, contrast and saturation of your colors.
- Crop the image so that your artwork fills the image and is devoid of anything distracting in the background
- Resize your image if required and save it with the appropriate dimensions and resolution in jpeg format.
There are several other professional tricks that can be practiced to improve your photographs so this is just a starting point. I hope these shooting tips will be of some help and make photographing your art enjoyable!
DISCLAIMER – All the information, data and imagery in this blog post is for informational and educational purpose only. Some images and data may have been taken from the links included below and I give full credit to these websites/pages, thereby in no way claiming them to be my own. Other data is based on my personal experiences and opinions. I am not a professional photographer so the tips I have shared below are merely suggestions. Please hire a professional photographer for more professional results.
Sources and Credits –
https://www.artworkarchive.com/blog/4-steps-to-photographing-your-art-like-a-professional
https://dgillart.wordpress.com/2017/04/05/photographing-artwork/

Very useful blog Neha, specially for folks who are novices with the usage of the different apps provided by a smartphone.
This is also called being innovative in making the best use of what one has and is familiar with.
Not being an artist, though an appreciator of anything to do with artists and their art, I am also going to try and use this learning to improve photographs that I take.
Thanks
LikeLiked by 1 person
Thanks also for being a great sharer of your learnings and knowledge.
LikeLiked by 1 person
Very interesting blog post. I think this is something not really thought about and the small tips for home use and without professional gear were really good!!
LikeLiked by 1 person