
Looking to reuse, recycle and revamp the junk lying around in your home or studio? Then this post is definitely for you, for today, I am going to talk about the decorative and extremely stylish craft of Decoupage which has been in vogue for centuries now. What makes this elegant craft fabulous as well as fun is the fact that it can be done by one and all, be it adults or kids. Many a fine artist has used a decoupage medium to create a unique piece.
I personally believe that decoupage is like a magic trick that an amateur artist hides up his or her sleeve to create the illusion of a painting and ingeniously dissuade his or her viewers into falling for it. What appears to be painted is nothing but paper cleverly glued into place. That’s why I call it “crafty” decoupage!
What Is Decoupage?
“Decoupage” actually comes from the French word “decouper,” which means to cut out or cut from something else.
Decoupage is the art of decorating common objects like a small box or an item of furniture by gluing cutouts of colored paper, or paper with interesting patterns from magazines or special decoupage papers, in combination with special paint effects, gold leaf and other decorative elements. Thereafter, each layer is sealed with varnishes (often multiple coats) until the “stuck on” appearance disappears and the result looks like painting or inlay work. The traditional technique used 30 to 40 layers of varnish which were then sanded to a polished finish.
3D decoupage (sometimes also referred to simply as decoupage) is the art of creating a three-dimensional (3D) image by cutting out elements of varying sizes from a series of identical images and layering them on top of each other, usually with adhesive foam spacers between each layer to give the image more depth.
Pyramid decoupage (also called pyramage) is a process similar to 3D decoupage. In pyramid decoupage, a series of identical images are cut into progressively smaller, identical shapes which are layered and fixed with adhesive foam spacers to create 3D “pyramid” effect.
History of Découpage
Decoupage is a very old, traditional paper craft. It has a long and fascinating history that can be traced back to a variety of styles from many distant countries. Over the centuries it boasts many famous practitioners including Marie Antoinette, Madame de Pompadour, Lord Byron, Beau Brummel and more recently, Matisse and Picasso. Today, decoupage remains a popular craft with many variations.
As far back as the 12th century, Chinese peasants were creating paper cutouts in vivid colors to decorate windows, lanterns, gift boxes and other objects. This Chinese practice and expertise with scissors is thought to have come from Eastern Siberia, where cutout felt figures and designs were decorating objects in the tombs of Siberian nomads. German and Polish artisans have also been using cut paper for decoration over several centuries. Polish women and children in particular, developed enormous skill with folded colored papers which they cut freehand into geometric shapes and stylized birds, animals and flowers.

However, it was the late 17th century lacquer work from the Far East, mostly in the form of furniture, which we tend to associate with today’s découpage. Oriental lacquered objects became fashionable in Europe and in no time demand exceeded supply. As a result, Venetian cabinet-makers and lacquerers (called depentore) began to produce fake lacquer work to keep up with the demand. This work was known as lacca contrafatta-counterfeit lacquer. Apprentices were employed by the artisans to hand-color the prints and engravings of leading artists. The wealthy classes were using master painters to paint their furniture and decorate their walls and ceilings. Thus, it became the poor man’s alternative to painted furniture in France in the 17th century.
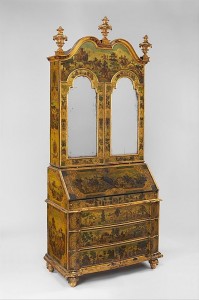
In time, because of excessive demand and the fact that many people could not afford the works of the masters, an alternative form of decoration developed. Drawings from the artists of the day were cut out, glued down and covered with lacquer to resemble original paintings. From this derivation came the alternative term l’arte del povero – poor man’s arts. During the 18th and 19th centuries this art form flourished throughout Europe. It even infiltrated the court of Louis XV. Ladies with an artistic bent snipped away at pictures and pasted them onto hatboxes, wig stands, fire screens and toiletry objects, keeping themselves amused for hours. This and the general skill of lacquering were known in England as Japanning. The works of Boucher, Watteau, Fragonard, Redoute, Pillement and many other distinguished artists came to this sticky end.

In 19th century England, during the Victorian era, hand coloring and intricate cutting out gave way to the more sentimental, florid collage-style of this art form. This coincided with the introduction of Valentine cards, decorative and embossed papers and braids to embellish surfaces such as screens, lamp bases, linen boxes and much more. While these découpage pieces lacked subtlety and skill, they made up for it with a certain bold and sentimental charm.

With such a long and varied history, it is not surprising that découpage is still evolving with new styles. With its colorful origins and variety of techniques the possibilities for this fascinating art form are infinite, offering scopes for endless hours of creativity as well as enjoyment.
One who does decoupage is called a Decoupeur, or “cutter”. At the age of 71, Mary Delany achieved fame at the court of George III and Queen Charlotte of England thanks to the 18th-century decoupage craze. In 1771, she began to create cut-out paper artworks (decoupage) as was the fashion for ladies of the court. Her works were exceptionally detailed and botanically accurate depictions of plants. She used tissue paper and hand coloration to produce these pieces. She created 1,700 of these works, calling them her “Paper Mosaiks”, from the age of 71 to 88 when her eyesight failed her. They can still be seen in the Enlightenment Gallery at the British Museum of Art.
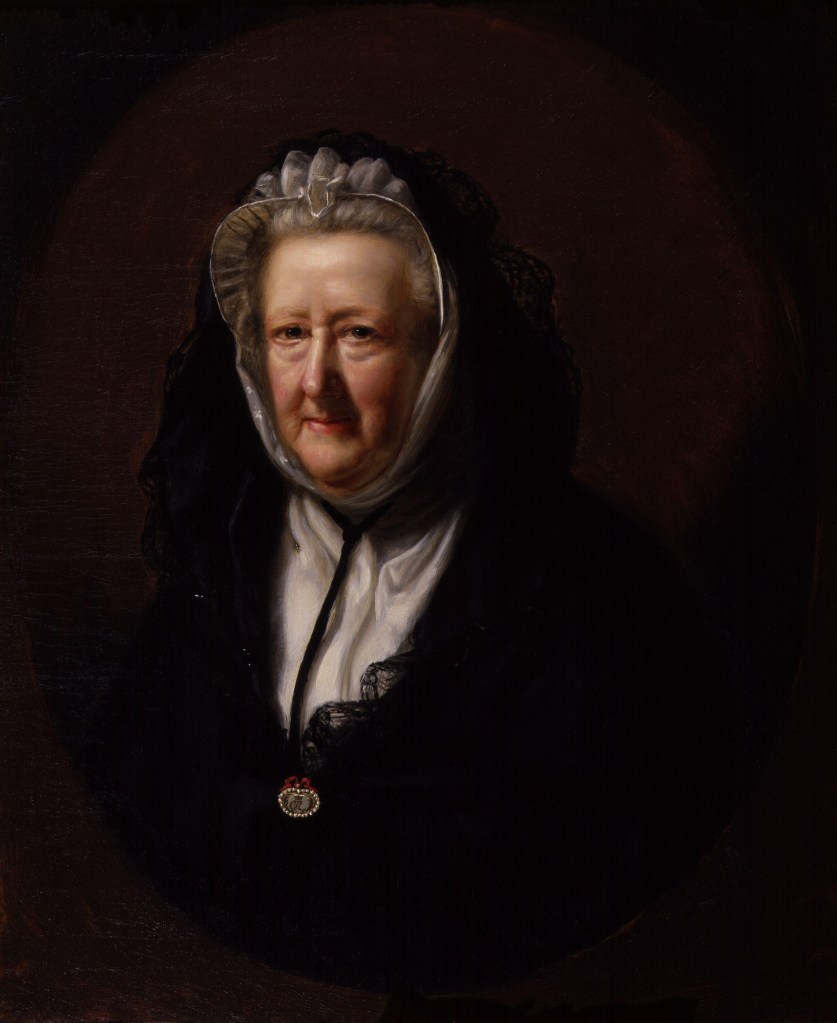
Mary Delany 
Delany’s decoupage work 
From the Mary Delany collection at the British Museum 
Mary Delany collection at the British Museum 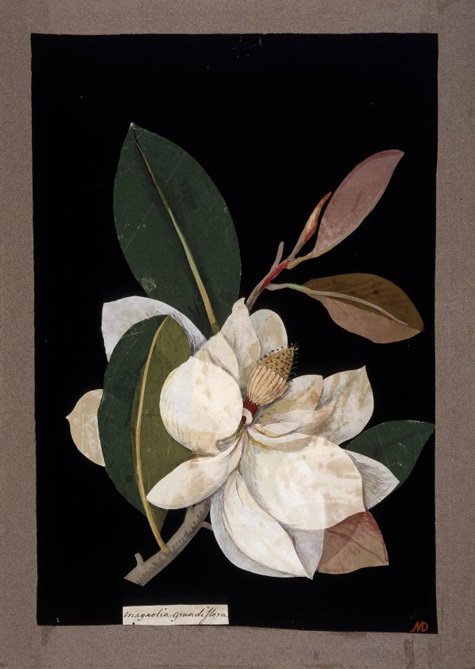
Magnolia from the Mary Delany Collection at the British Museum
Jay (Terry) Jones, a notable decoupeur from Waynesburg, Pennsylvania, holds multiple Guinness World records for his extensive decoupage collection.
Richard Basile, a well known New York art collector and entrepreneur, achieved notoriety as a decoupeur when his intricate floral decorative work was displayed at the Foire Internationale d’art contemporain festival in Paris in 2014. Basile had developed his collective works over more than a decade while working in the basement study of his parents’ New England home.
Uses of Decoupage
Traditionally, decoupage was most commonly used to decorate items of furniture and home accessories. There are many other ways that this versatile technique can be used and it is becoming increasingly popular with card makers and scrapbookers. The three-dimensional images created by decoupage add depth and interest to projects.
Just about every surface can be decoupaged, like wood, paper, fabric, glass, metal, tin, papier-mâché, terra cotta, MDF and many more. The only surface that really presents an issue is plastic, or other surfaces that are extremely slick (and possibly have a coating). The issue is that the glue doesn’t really work well with other polymers, so you would probably be able to pull whatever you Mod Podged off right after it dried. There are some options for decoupage on plastic, including keying up the surface with sandpaper or spray painting with plastic friendly spray paint first.
Materials for Decoupage
- Decoupage Medium
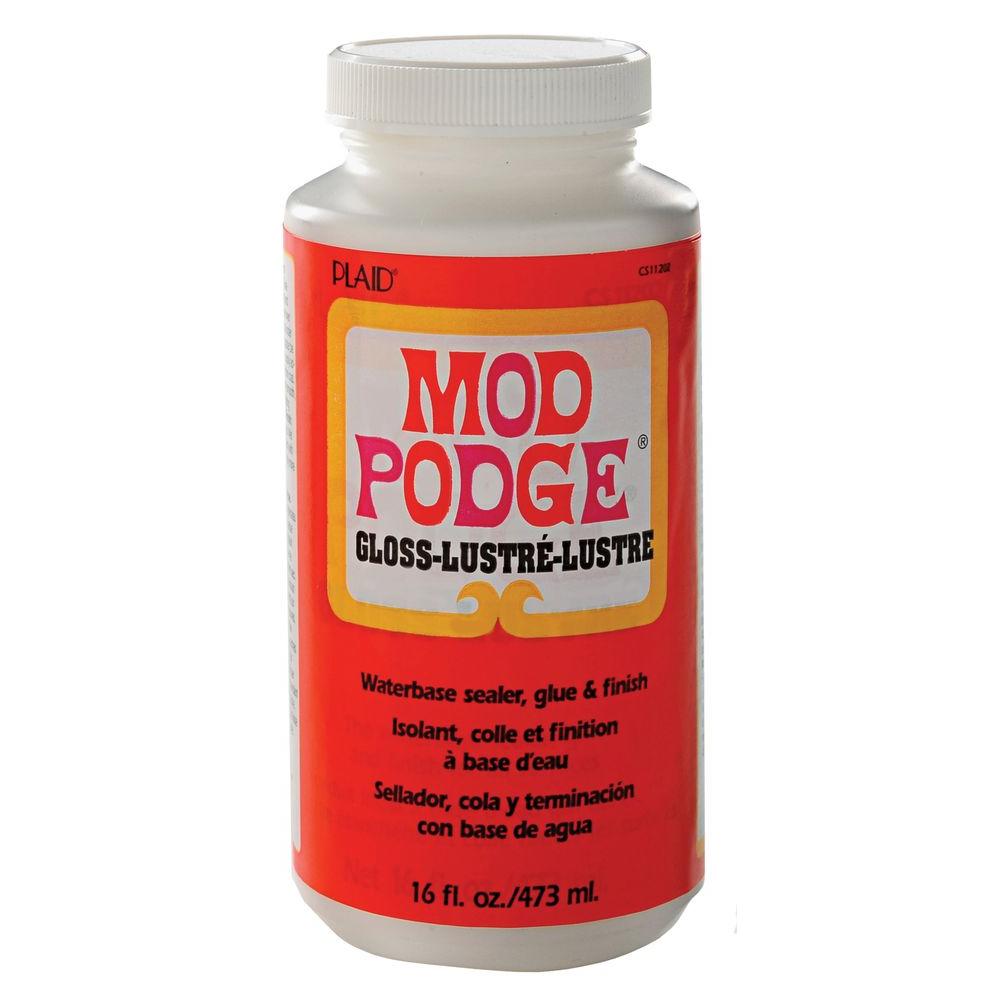
Decoupage medium is an all-in-one sealer, glue, and finish used for creating decoupaged works of art. It can be used on wood, fabric and other porous surfaces. It dries clear and holds glued-on paper cuts tight.There are many different types of decoupage glue. Almost any white glue (PVA, craft or school glue) can be diluted with water (three parts glue to one part water) to serve as decoupage medium. One can also add mica, pigment powders or even glitter to the diluted glue to achieve different effects. Mod Podge is a popular decoupage medium and is available in different sizes and with gloss or matte finishes.

Whether it is furniture, home decor or clothing, a decoupage medium is needed for all. There are several types of adhesives, each with their own benefits and drawbacks. The type of adhesive used can create different finishes on your product. Here are a few options:
- Matte – This finish is flat rather than glossy. Using this finish will allow the decoupage to look more like paint and will create a more seamless design. Putting a matte finish will also help prevent any glare from lights that can be created when using a glossy finish, which will be more reflective.
- Glossy – A glossy finish will give a shiny or lustrous effect. This is a great option when decoupaging photographs printed on glossy paper. It will not dim the photos, but add to the finish to give a professional look.
- Satin – A satin finish is similar to a matte finish as it does not have a shine. This is another good product to use if you want to avoid the glare that can be caused by a more glossy finish. A satin finish is the recommended option for furniture you want to have a painted effect on. (IMAGE)
- Sparkle – This finish will add a little extra sparkle and design. This is a great product if you are planning to decoupage an entire piece.
- Colored Decoupage – Some decoupages come with a light tint of color. This is great for staining glass, wood, and metal. With a transparent color and the same application uses as all decoupage, it’s a great option for adding that extra bling to your design.
- Decoupage for Furniture – This decoupage is great for more porous materials such as wood and fabric. When decoupaging furniture you will also want an adhesive that will not fade with wear and tear. This finish gives the strength and resistance needed for heavily used items.
- Outdoor – Using outdoor decoupage will allow you to seal your project from outdoor elements causing less wear and tear than the average decoupage.
- Making Your Own Decoupage – Another option could be creating your own decoupage with PVA glue and water. Though this may be a cheaper option, it is less strong and will hold for a shorter time. It will also be less water resistant.

Matte 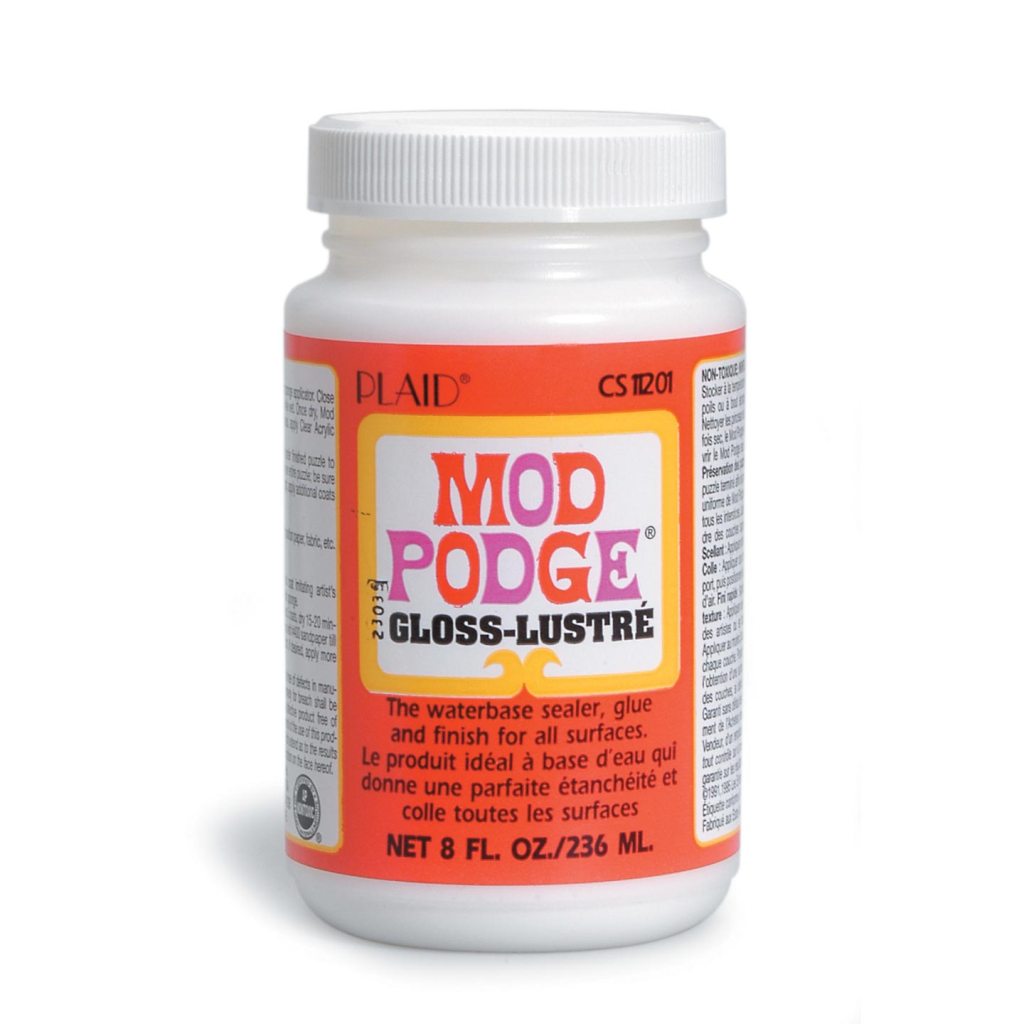
Glossy 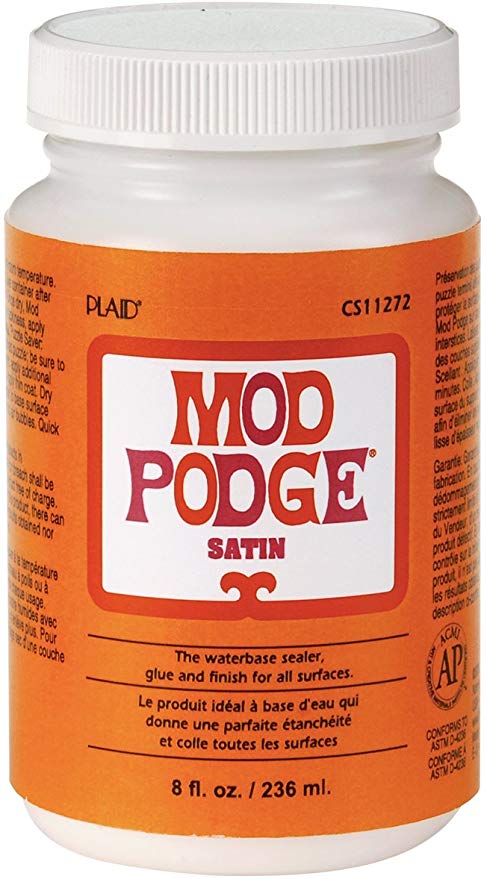
Satin 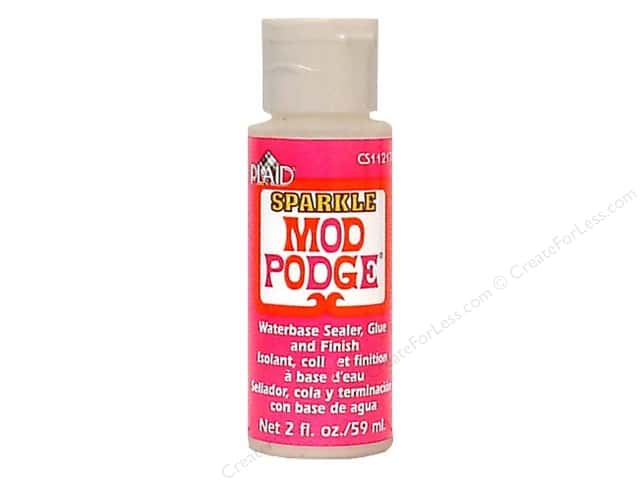
Sparkle 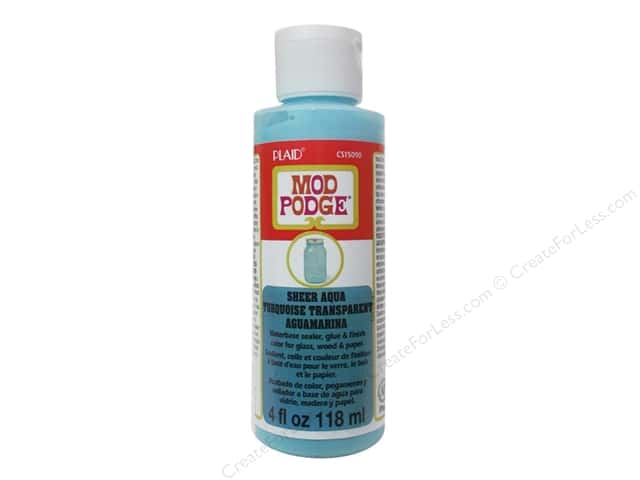
Colored 
Furniture 
Outdoor
2. Paper for Decoupage
Almost any paper can be used for decoupage and the type of paper you are use depends mainly on what the project is and what is its purpose. For projects that will be used more, a stronger paper would be better and to personalize something you can use your own photos or cut out images from magazines.
A wide variety of special papers for decoupage are available today at almost all art and craft stores. These contain a number of images that have been selected specifically to suit the purpose of decoupage and provide contemporary as well as traditional designs. In addition to decoupage papers, pre-cut or die-cut decoupage kits are also available. These are a quick and convenient way to create decoupage designs. Here are some examples of paper you can use:
- Decoupage Paper – These papers are made specifically for more intricate designs and decoupaging crafts.
- Tissue paper – This paper is lighter and thinner so can easily bend around corners and is less likely to have a raised surface or bubble up. Due to its semi-opaque surface, it gives more of an effect like that of a painting than other papers.
- Cardstock – Cardstock comes in many designs and colors making it a great option for mod podge. A heavier cardstock can be a good option for 3D decoupage as it will look thicker on your project.
- Photos – Decoupage works perfectly with personal photos. Just add decoupage glue/medium to the surface, stick your photo firmly and then add more adhesive on top to smooth the photo down. You can also use decoupage to transfer a photo to a different surface. When decoupaging with photos make sure they are from a laser printer rather than an ink-jet printer as a photo from an ink-jet printer can smudge with the decoupage application. If you use inkjet-printed images on your surface to be decoupaged, let the ink dry, and then spray it with hairspray. It sets the ink and then you can use the print. Make sure both are completely dry before applying your medium.
- Fabric – A lighter fabric will work better as it will allow the decoupage to seep in and seal it. To ensure fewer wrinkles, ensure that the fabric is taught and press it onto your surface a little bit at a time. Make sure that you seal your fabric with a polyurethane and sealer.
- Napkins – Napkins are a great option for decoupage owing to their wide range of designs their lighter nature. Cut out the design before taking apart the layers of the napkins and then use a single layer for the decoupage.

Decoupage Paper 
Decoupage Tissue Paper 
Decoupage Cardstock 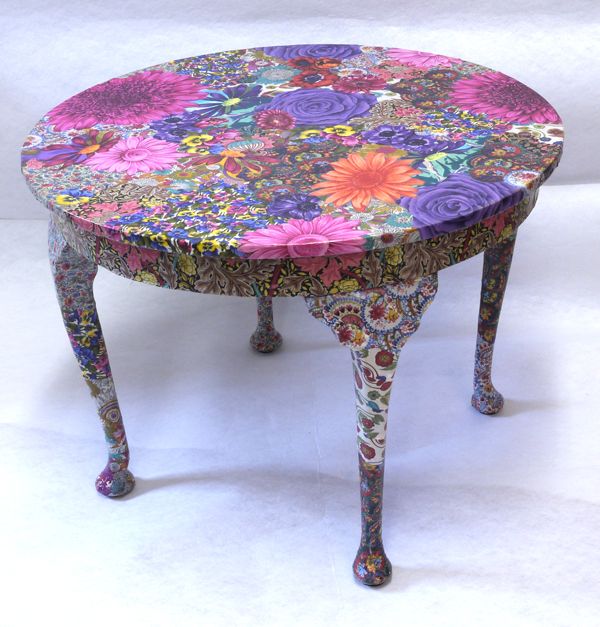
Decoupage with Fabric 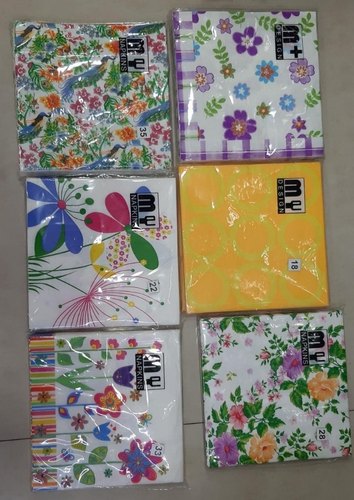
Decoupage Napkins
3. Decoupage Adhesive Pads
Decoupage is given the three dimensional, raised effect with the help of a thick double-sided tape or self-adhesive pads. Different effects can be achieved by using different thicknesses of the adhesive pad. When layers are built up using glue without the added depth of a glue pad or tape a more subtle effect is produced. This is similar to paper piecing.

4. Rubber Stamping and Decoupage
Rubber stamping and decoupage are complementary crafts. Decoupage can be used in rubber stamping projects and vice versa. Rubber stamping can also be used as the images for decoupage. This wide range of options makes rubber stamping and decoupage a perfect match.

The above are the essential supplies needed for decoupage, but here are a few other items that might come in handy:
- Bone folder – This can help smooth out wrinkles and remove excess glue. A tool made especially for this, called a brayer is also available.
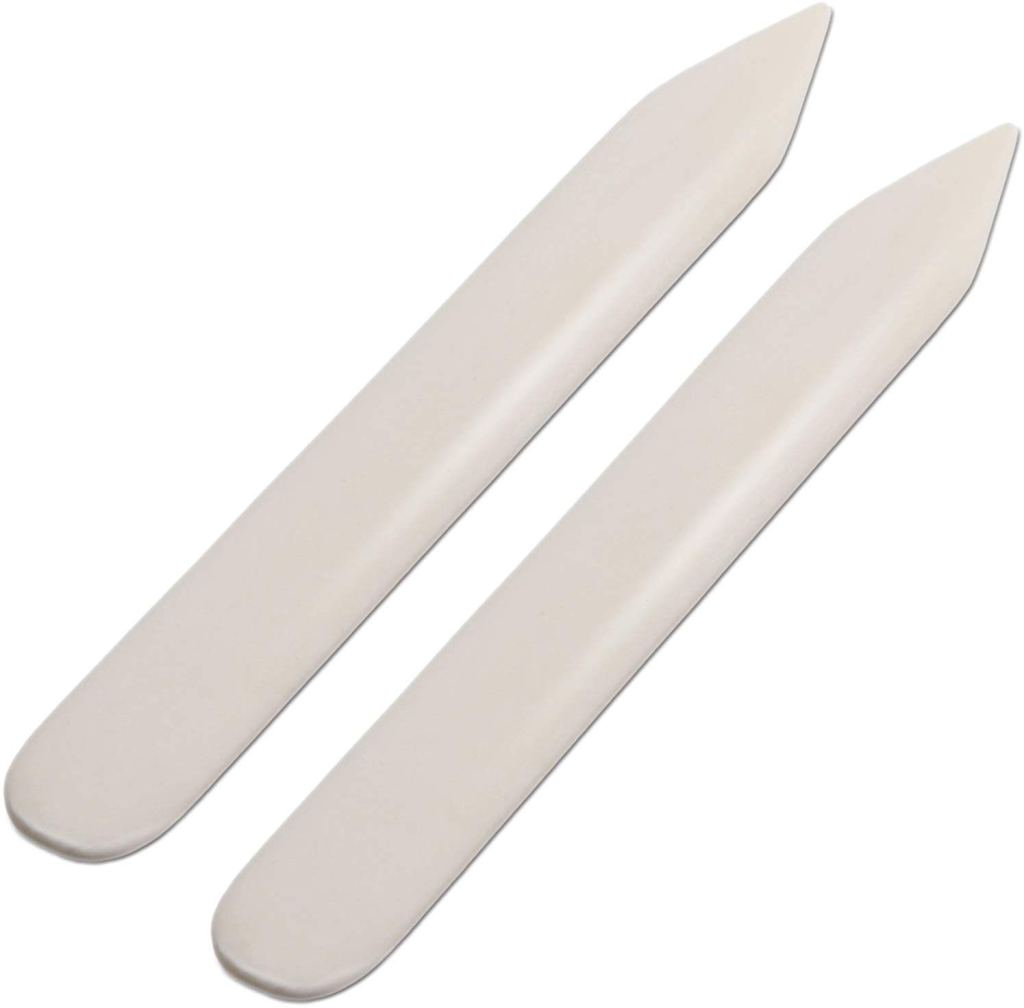
Bone Folders 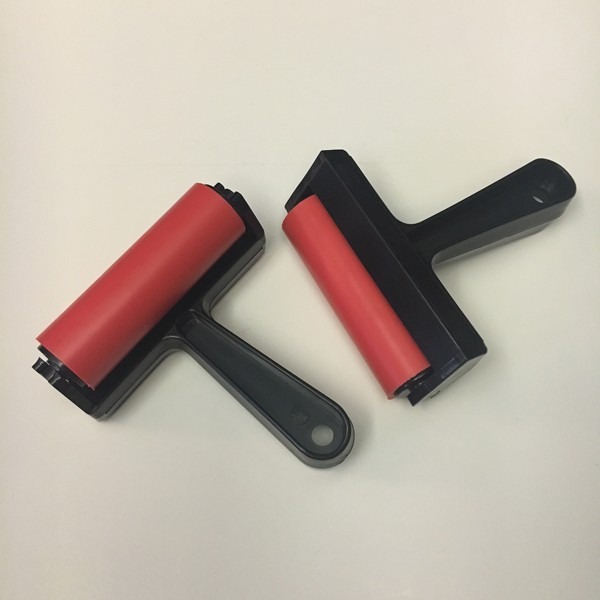
Brayers
- Foam brush – This is useful for spreading the decoupage medium or glue onto the object to be decoupaged. An ordinary paintbrush or even a cotton swab can be used for this purpose but these are not as effective.

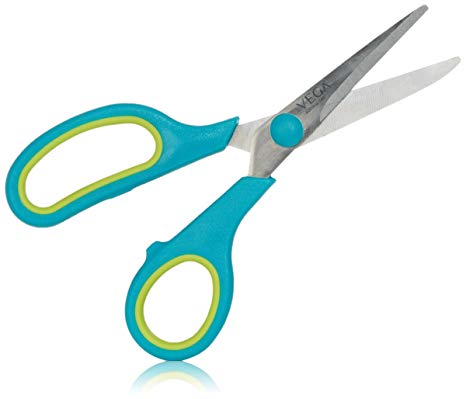
- Scissors – Used to cut out the pictures and other items to be decoupaged. A pair of scissors with small blades or a utility knife can be used to cut decorative paper with a lot of intricate details.
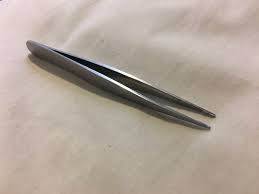
- Tweezers – Tweezers are sometimes great help when it comes to positioning small pictures.
- Damp rag – Keep one handy to wipe off excess glue and to clean up. Ensure the rag is damp and not soaking wet when using it to remove excess decoupage medium from your glued papers. A damp rag also helps to keep your hands clean while working with glue.

All about Mod Podge
Since my medium of choice is Mod Podge, I feel it deserves a special mention in my post. Not only is it a medium, it is also an adhesive/sealer and provides a finish as well. Mod Podge has additional properties that make it better than the regular school or craft glue, thus increasing the longevity of decoupage crafts that are made using it.
The original inventor of Mod Podge was Jan Wetstone, an Atlanta housewife, who in 1967 invented Mod Podge while experimenting with short-cuts to decoupage in her antique shop. It proved to be one of the most enduring successes in the history of the craft industry. Jan secured two patents, one for Mod Podge and one for a molded frame-maker kit.

Here are some of the common surfaces that can be used for decoupage with Mod Podge:
- Wood
- Tin
- Glass
- Ceramic
- Metal
- Fabric (including clothing and shoes)
- Terra Cotta
Here’s a list of materials that can adhere to the surface using Mod Podge:
- Paper
- Fabric
- Tissue Paper
- Napkins
- Stickers
- Wrapping Paper
My Decoupage Project
I have this habit of scribbling down my thoughts and making “To Do” lists in my daily planner at the end of each day. Moreover, when I come across a new art form or bump into a new craft, out comes my diary and I quickly jot down what I saw so that it is preserved for posterity. Thereafter, I plan out how to go about making this new technique part of my own art. This is where my “To Do” list comes in handy.
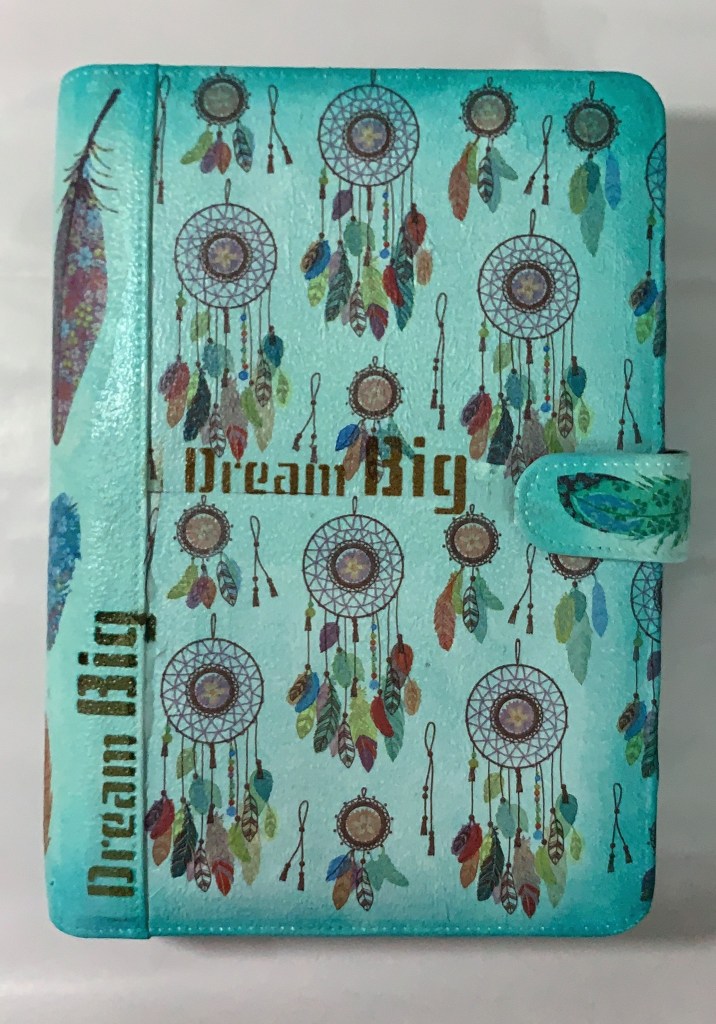
Every year, I invest in a good planner which for all practical purposes does what it is meant to do. One fine day, I asked myself, why does an artist’s planner have to be just a plain looking executive diary? Why should it be any less artistic or creative than the art itself? So I decided to upcycle my old planner into a work of art. And what better way to do this than with the lovely craft of decoupage! Well, here it is then, the story of my daily planner and how I transformed it from an ordinary diary into the memoir of my dreams.
Since the craft of decoupage was new to me, I had to do a lot of research on what all it requires and how it is done. Having done that, I gathered all the supplies and followed the directions that I had read up. For all those who wish to do try it out, here’s how I went about it, along with a few of my personal tips and tricks that eased the process for me.
Materials I used –
- Surface/Object of your choice (In my case, my faux leather planner).
- Gesso to provide a base coat to the surface/object before the next layer of paint. This ensures that the paint is not patchy and the original surface does not peek here and there through the paint.
- Decoupage Medium (I swear by Mod Podge!)
- Decoupage paper (I went for decoupage napkins due to advantages I have stated above).
- Acrylic/Chalk paints (I went for the latter as they are a better option for decoupaging, specifically on surfaces like leather. The former tends to peel off as an entire layer once dry). Tip – Make sure the paint you use is appropriate for the object you intend to decoupage.
- Distress inks for enhancing as well as blending the painted corners and sides of my planner with the decoupaged paper (This is optional but I would recommend it for a more finished look).
- Ink Blending Tool for blending in the distress ink uniformly with background.
- Stencils of text/patterns to add on to your design (again optional).
- Gloss Varnish to give my cover a glossy shine as well as seal and protect the decoupage work. I would recommend multiple coats. (You can opt for a matte varnish if gloss is not your thing).
Tools I used –
- Sponge dauber for applying the chalk paint evenly. You can use a paintbrush as well but the brush lines will be visible after the paint dries.
- Scissors to cut out the decoupage napkin or specific shapes/motifs from it.
- Craft/X-Acto knife and mat (optional, in case you want finely cut designs).
- Foam brush for uniform application of the varnish.
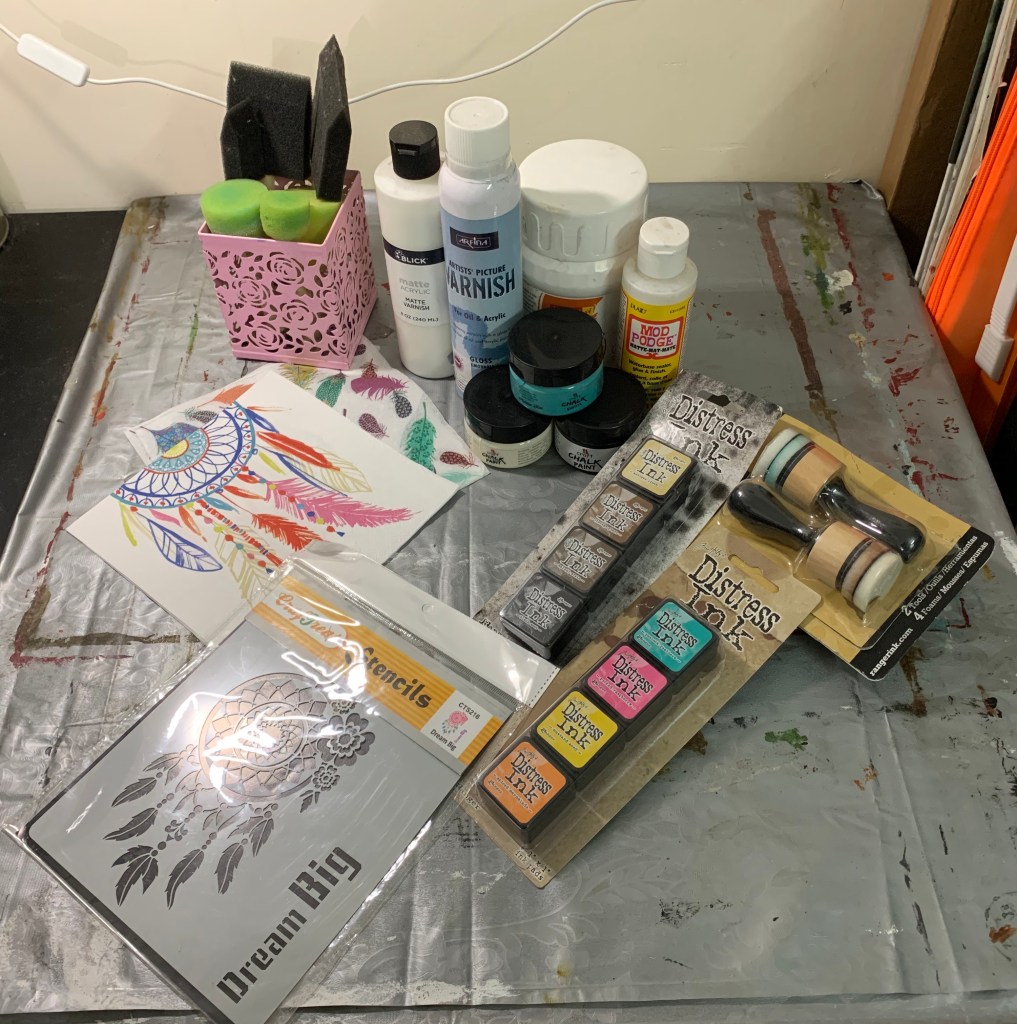
My Decoupage bootie! 
Gesso (This brand is only available in my country) 
Decoupage Medium 
Chalk Paints 
Distress Inks 
Glossy and Matte Varnish 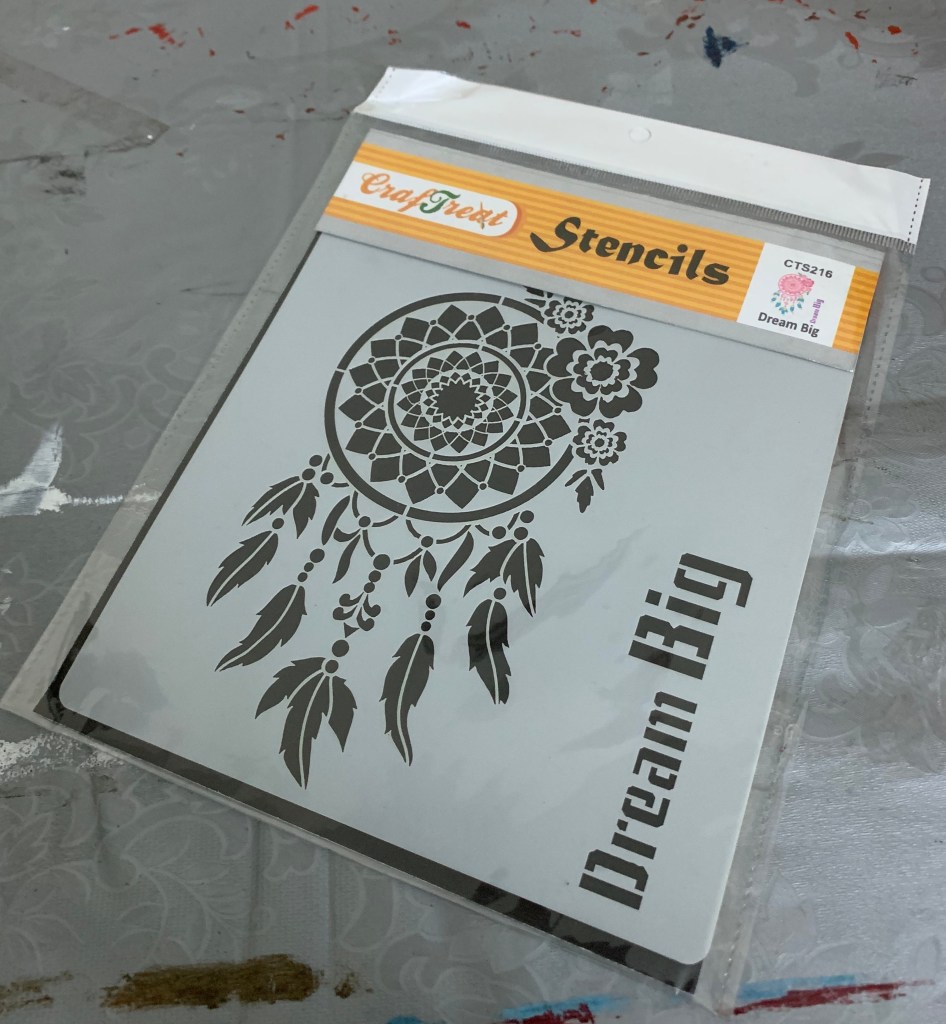
Stencil I used 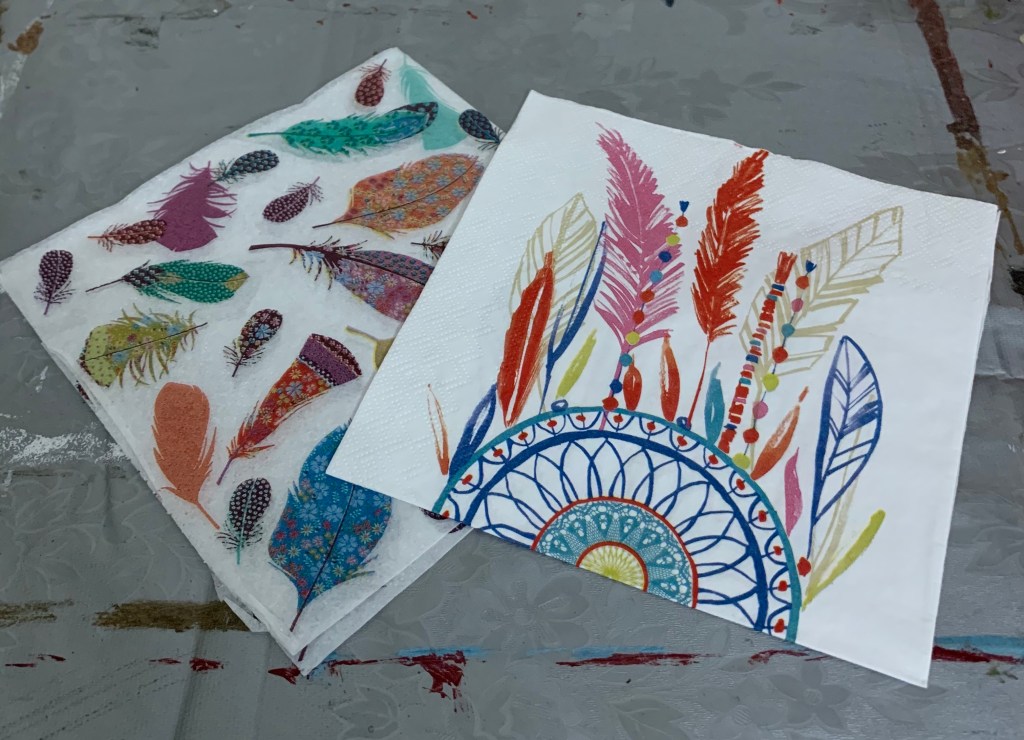
Decoupage Napkins 
Sponge Daubers 
Foam Brushes 
Ink Blending Tool 
Extra sponges for Ink Blending Tool
The Process –
1. The first step towards decoupaging is to make sure that the surface/object to be decoupaged is clean, dry and free from any dust or dirt. So I wiped my planner cover with a soft cloth.
2. Next, I prepared the surface. I did this by applying a basecoat of gesso onto the planner using my sponge dauber and once it was completely dry (which takes about 24 hours), I covered it with a layer of chalk paint with the help of the dauber once again. Tip – the paint should be totally dry before you start decoupaging.
3. Then I prepare the items to be Mod Podged by cutting out the decoupage napkin which was a beautiful dream catcher print, in the requisite size as well as specific shapes (in this case feathers) that I wanted to decoupage individually. This involved lot of experimentation with various patterns and prints until I came up with the perfect combination and layout for the planner. Tip – Before applying mod podge, arrange the decoupage paper/cuttings/ images onto the object and decide on the final placement.
4. Next, I applied a thin coat of Mod Podge with my foam brush little by little, each time placing the decoupage napkin layer carefully on top and gently pressing it down to stick it. Working in small sections at a time, I kept lifting the paper to apply a generous layer of decoupage medium onto the planner cover. I kept alternating between applying Mod Podge and placing the napkin on top until the entire sheet was adhered well. Once this was done, I smoothed out any bumps or air bubbles that might have formed during the application. This step requires a bone folder or brayer but since I didn’t have either, I simply placed a ziplock bag on top of the stuck on paper and smoothed it out with my palm. I kept smoothing until all of the bubbles were removed. I followed the same steps for the feathers that I had cut out. Tip – I let the project dry for at least 15 – 20 minutes.
5. Once dry, I added a protective coat of Mod Podge to the planner cover using my foam brush. I allowed it to dry fully once again. Tip – Do not apply a very thick coat of Mod Podge as it tends to show up as white patches once dried.
6. The next step was to blend-in the entire design. I did this by applied distress ink (same as my base color) along the edges and corners of the planner. This gave a smoother and finished look to the entire design.
7. To further add interest to my planner I applied text using a stencil and distress ink in a different color.
8. Last but not the least, I varnished the planner cover with multiple coats of glossy varnish, taking care that each coat had dried completely before I applied the next one.
So there you have it! My very own, custom-made, DIY decoupage possession and I just love it!

Decoupage truly is an art form and many a fine artist has used the craft to create some unique pieces. It is a misleadingly easy craft to execute and though decoupage items may look like painted masterpieces, in reality, they are just pre-printed images on paper seamlessly adhered to a surface with a medium. Decoupage is an act of designing items by innovatively combining different papers and different techniques. It’s all about creativity and experimentation. It is the art of cycling something you already own and personalizing it as your heart desires. I like to attribute this crafty affair with three R’s of its own – Reuse, Recycle and Revamp!
DISCLAIMER – All the information, data and imagery in this blog post is for informational and educational purpose only. While there may be copyrighted material the use of which has not always been specifically authorized by the copyright owner, I have only made it available with the sole effort to stimulate creative progress and artistic enrichment. Some images may have been taken from the links included below and I give full credit to these websites/pages, thereby in no way claiming them to be my own. I have also used these links for reference purposes and collection of data; therefore I give full credit to the respective web pages. Most of the data in this post is based on my personal experiences and opinions and I am not responsible for any material that is found in the links at the end of this post.
Sources and Photo Credits –
https://www.thesprucecrafts.com/how-to-decoupage-1244290
https://en.wikipedia.org/wiki/Decoupage
https://www.createforless.com/buying-guides/crafts/decoupage.aspx
https://www.decoupage.org/home/history-of-decoupage
https://www.legacy.com/obituaries/heraldtribune/obituary.aspx?pid=163246362

A really good idea to embellish and personalise a simple diary or journal cover.
The one made by you has the gentle colours with a beautiful statement.
Well done
LikeLiked by 1 person
Interesting piece! i loved the concept of decoupage and what you can achieve from perhaps very little….loved the daily planner as well!!
LikeLiked by 1 person
good sharing.
LikeLiked by 1 person
Really nice information !! Pls suggest: https://www.penkraft.in/Bangalore/Devanahalli
LikeLike
Nice blog! To learn more about the art, visit our website: https://penkraftonline.in/CourseDescription/12/81
LikeLike
wow very nice. I have purchased Decoupage art product from penkraft. I am very satisfied with the products received. Attaching the link do have a look
https://diy.penkraft.in/ProductDetails/Decoupage-Art-on-Kettle–DIY-Kit-by-Penkraft
LikeLike
This is so beautiful art and i have always loved buying this and i found a great website for this i hope it helps you toohttps://diy.penkraft.in/ProductDetails/Decoupage-Art-on-Kettle–DIY-Kit-by-Penkraft
Thank you so much for the comment and the link!
LikeLike
So informatic blog. I have visit some visit some websites where you can purchase diy kits and gifts also..https://penkraftstore.myshopify.com/
LikeLike
Thank you for your comment and the links!
LikeLike